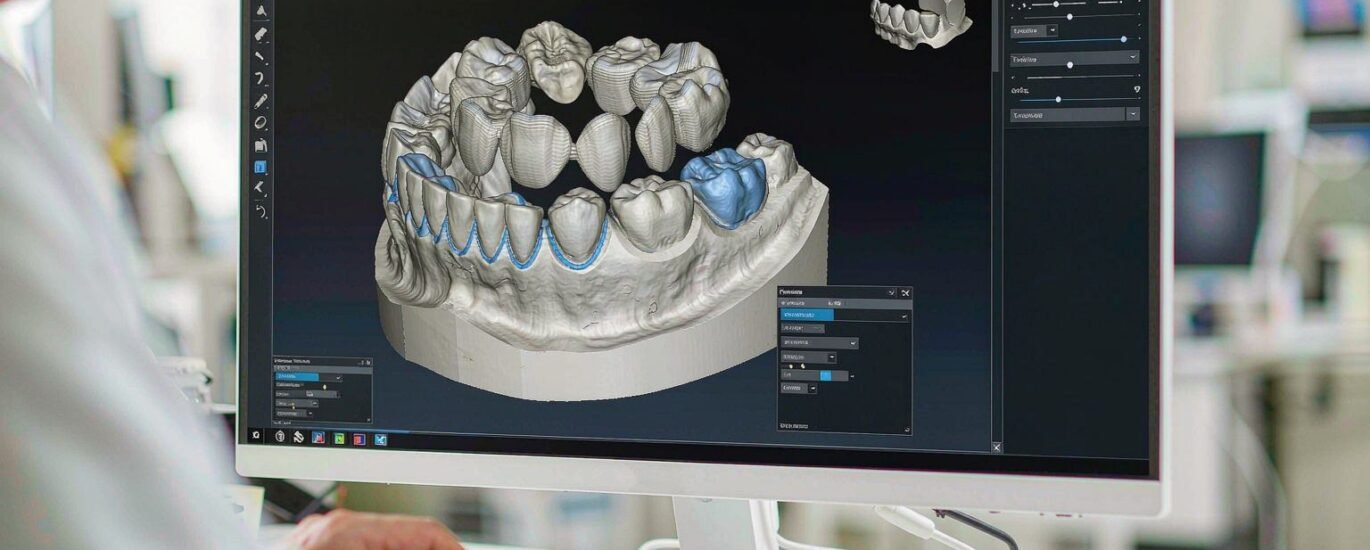
A 3Shape design workflow earns its keep when every case moves through the same dependable steps. Most laboratories already own powerful software. The gap between owning it and trusting it usually comes down to setup. Once order forms, libraries and defaults are locked in, design stops being a nightly scramble and becomes a production line you can predict.
This guide walks through the setup habits we use every day at OdontaLab, where our designers work in exocad and 3Shape on laboratory production cases. The software stack behind the modern dental laboratory rewards structure more than speed. The same ideas apply whether you design in-house or send overflow to a partner.
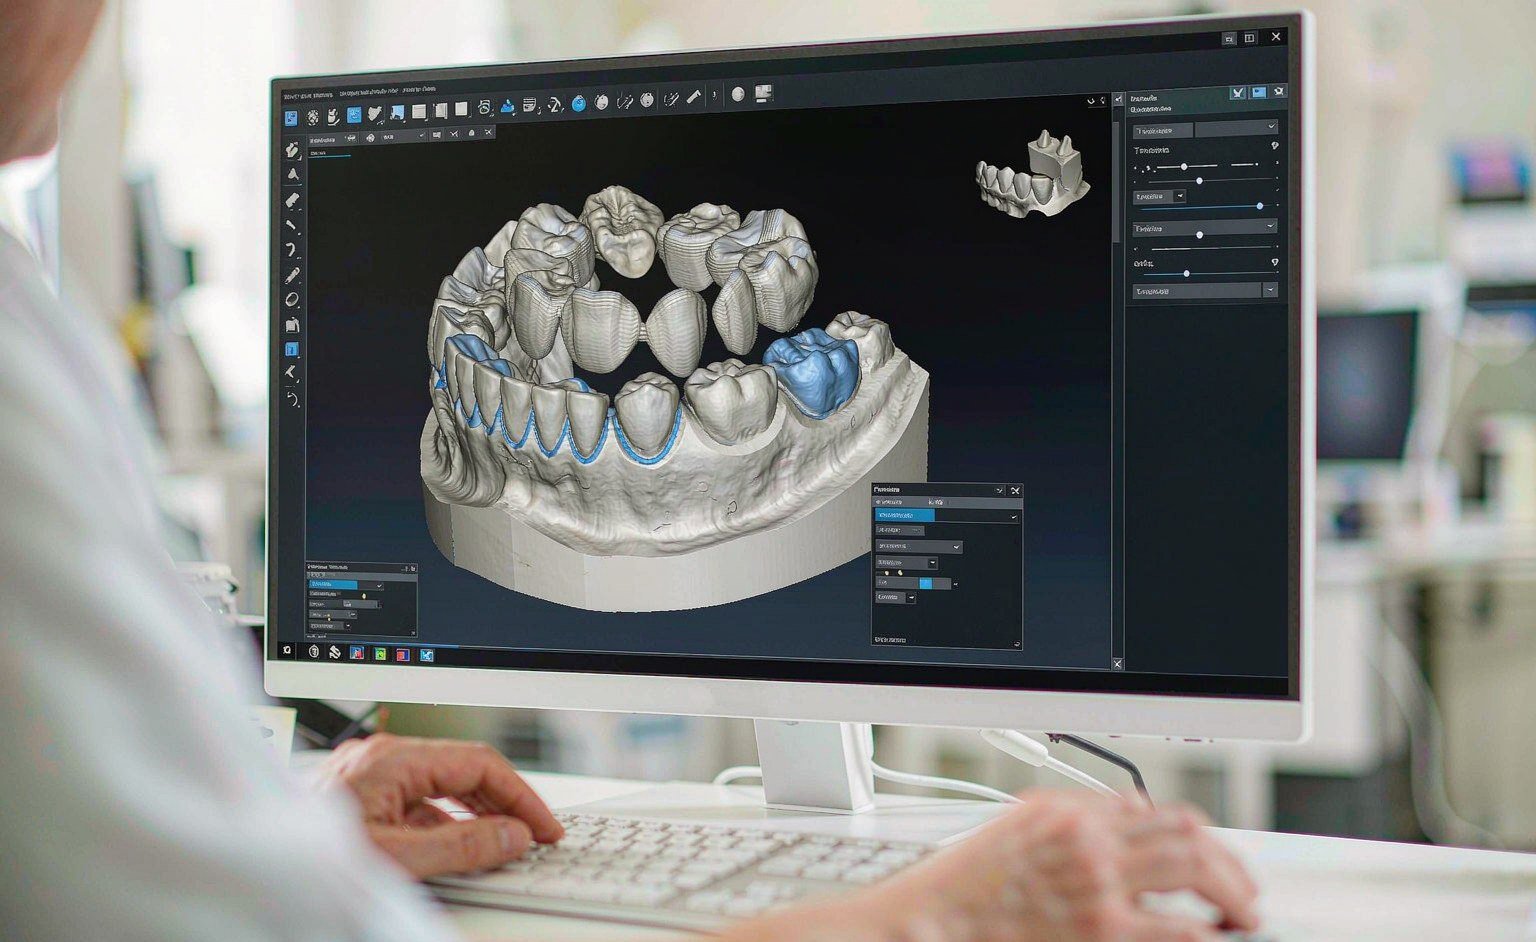
Build the 3Shape Order Flow First
Everything starts with the prescription. Before anyone opens a case, the order form should capture the essentials: restoration type, material, margin preference, cement gap, connector sizes, occlusal scheme, and the implant system with its library where relevant. Vague prescriptions create slow cases. A designer who has to guess will either stop and ask or make an assumption you will reject later. Both outcomes waste hours.
In our own case review, unclear files trigger a question before design starts, never after. One short message early beats a remake at the end. If your 3Shape order form is missing fields for the details above, add them this week. The form is cheap to fix; the backlog is not.
It also helps to separate routine cases from complex ones at intake. A single zirconia crown with a clear margin needs little discussion. A full-arch implant case or a survey-designed partial deserves a written plan before design begins. Sorting cases this way means your best design hours go where they matter most. Seasonal peaks make this habit even more valuable. When volume doubles in a busy week, a clear order flow is what keeps the design bench moving without constant supervision.
Lock In Libraries, Materials and Defaults
Next, make the software do the remembering. Set up your materials once, covering zirconia, PFM, e.max, PMMA, titanium and CoCr, with minimum thicknesses that match your production reality. Save indication-specific defaults for cement gap, spacer settings and margin line placement. When a designer opens a crown case, the starting point should already reflect your lab’s rules rather than generic factory settings.
Implant work deserves extra care here. Build a library list for the implant systems your laboratory actually restores, and keep it current. If a case arrives for a system you do not have, decide before design whether you will add the library or decline the case. Guessing with library geometry is how passive fit problems start. Our studio designs to the client’s library and says so up front when one needs adding.
File naming and output folders matter too. A case that leaves 3Shape should land where your mill or printer expects it, under a name your production team can read at a glance. Small habits like these remove the tiny searches that add up across a hundred cases a week.
Design to Your Protocol, Not the Defaults
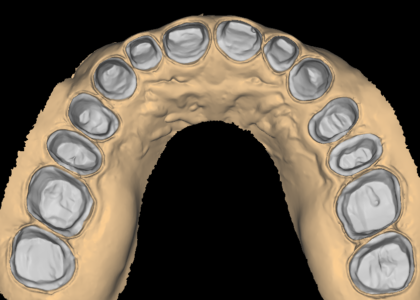
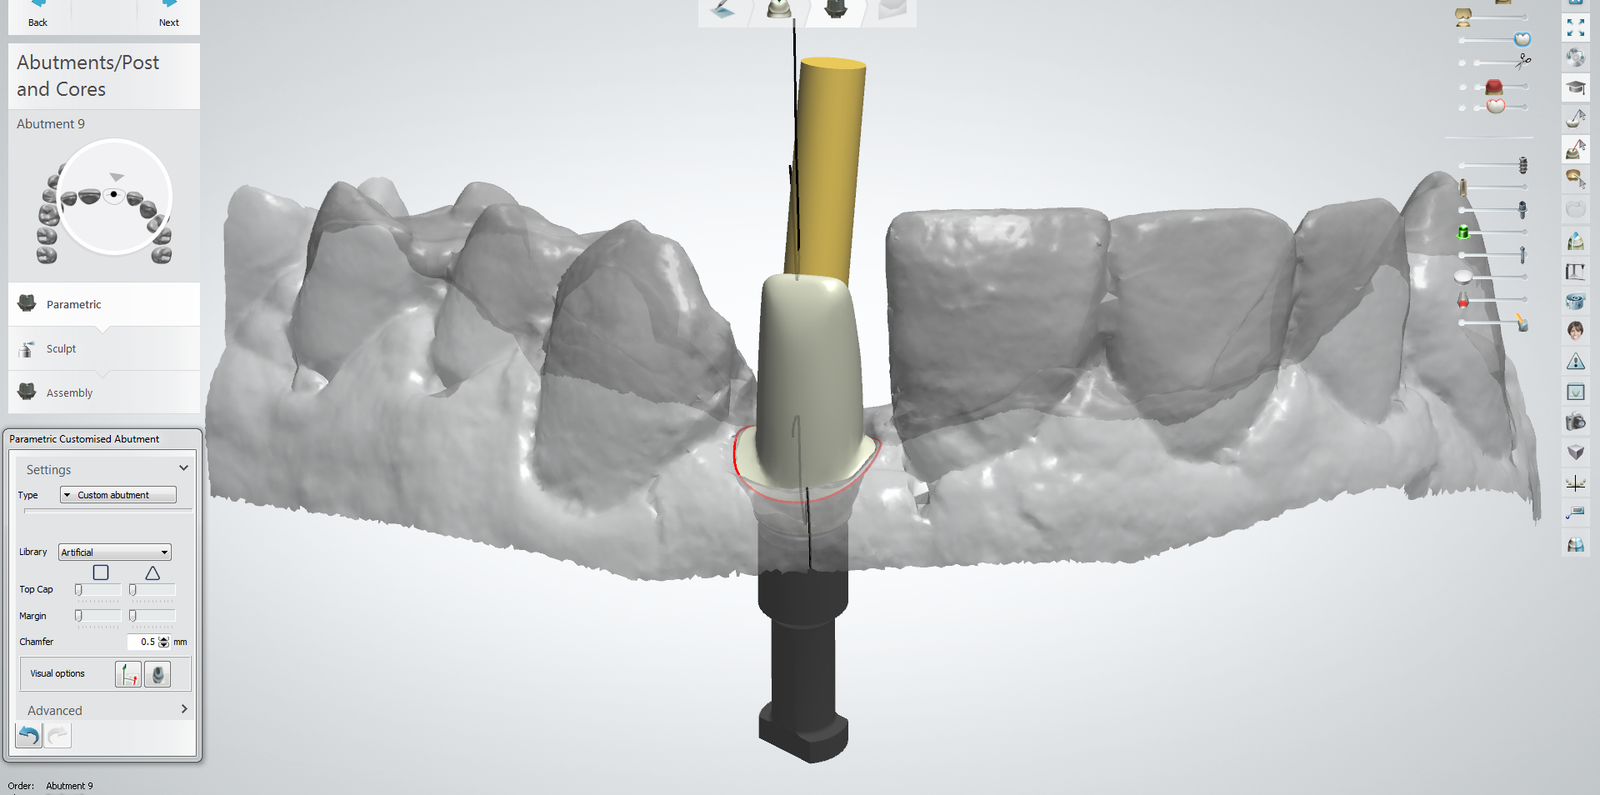
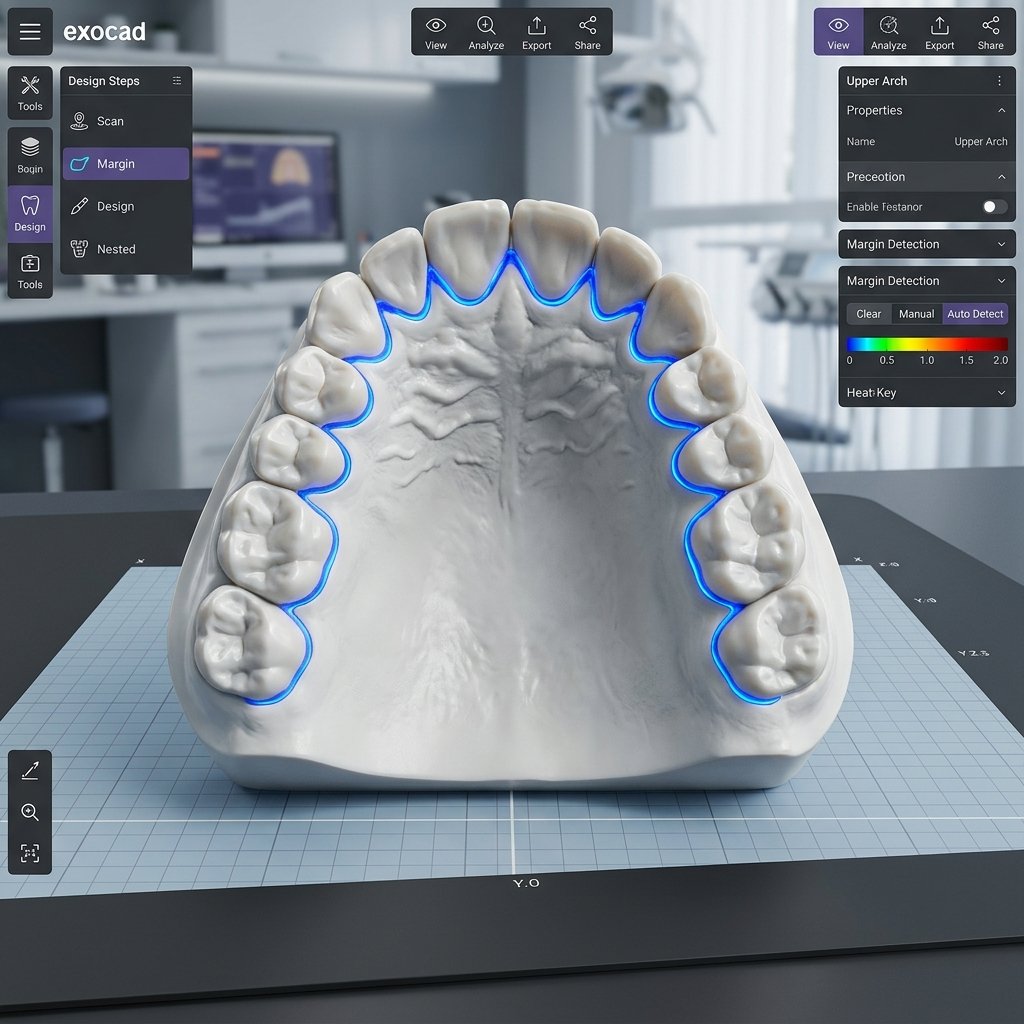
Software defaults are averages. Your cases are specific. This is where a mature 3Shape design workflow separates itself from a basic one: the design follows the prescription, not the path of least resistance. Check the margin line against the scan rather than accepting the auto-detection. Set the cement gap to the value your prescription states, not the one the wizard suggests. Size connectors for the span and the material, then confirm contacts and occlusion against the opposing arch.
Screw-retained work adds its own checklist. Screw channel angulation, access cavity position and ti-base compatibility all deserve a deliberate look. Full-arch cases raise the stakes further, because a small fit error multiplies across a dozen positions. Slow down where the geometry gets unforgiving.
For laboratories that outsource part of their design work, this section is the contract. A partner should follow your protocol exactly, the same way your best in-house designer would. If you send crown and bridge work out, for example, the returned file should already match your margin and cement-gap rules so your team can release it without rework.
A Pre-Delivery Check Inside 3Shape
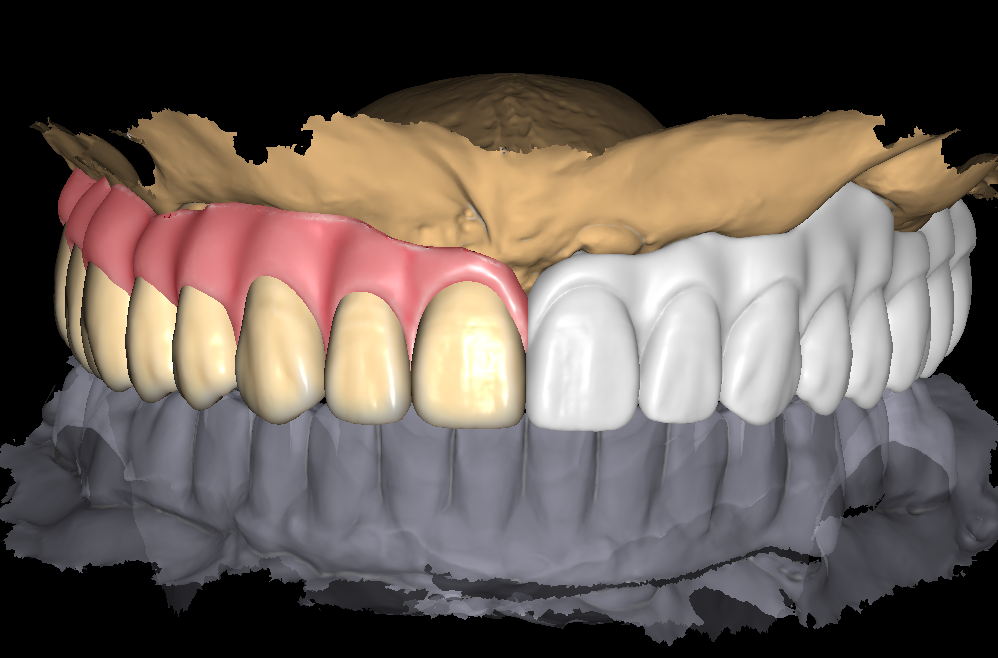
The last habit is the one that prevents remakes. Before any file leaves the design bench, run a fixed checklist: verified margins, correct cement gap, connector cross-sections, occlusal contacts, wall thicknesses, and clean output geometry. It takes two minutes per case. Compare that with a remake: a frustrated dentist, a second milling cycle and a schedule that slips. Keep the checklist visible, whether it sits printed at the bench or inside your case management sheet. A check nobody can see is a check nobody runs.
At our studio, a senior designer reviews 100% of cases before delivery. Useful screenshots travel with the file, so your team can see margin placement and contacts without opening the design themselves. When an adjustment is needed, the revision comes back reworked quickly, and your preferences stay on record for the next case. That feedback loop is what turns a vendor into a design department.
Turnaround belongs in the same conversation. A 3Shape design workflow only holds up if every step above happens inside a predictable window. Ours runs 12-24 hours from case receipt to a production-ready file, with rush support built into the service rather than sold as an extra. Predictability, not heroics, is the goal. You can read more about our design services and the six steps every case follows.
If your laboratory wants this structure without hiring, start small. Send one real case from this week and judge the file quality, the turnaround and the communication for yourself. Contact us and see what a properly set-up workflow delivers.