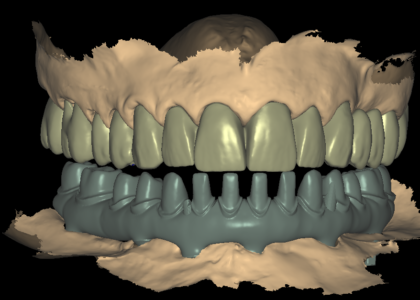
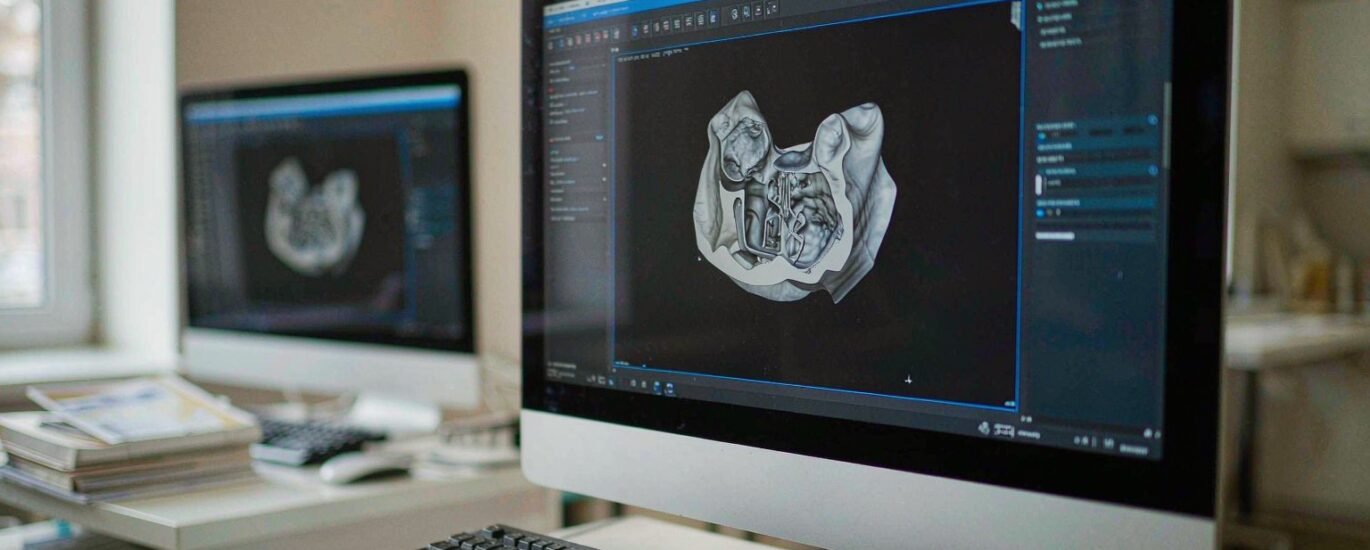
A dental CAD design checklist works like a pre-flight check for your production floor. The design looks right on screen, yet small errors still slip through when a designer relies on memory alone. A written list turns that recall into a repeatable habit. It catches problems early, when a fix takes minutes instead of a remake. This article gives you a practical pre-delivery checklist your lab can adopt this week. You can run it in under ten minutes per case, and it covers fixed, implant and removable work. We use the same review steps on every case that leaves our studio. The list below reflects production practice rather than theory.
Why a CAD Checklist Beats a Memory Test
Most remakes trace back to a short list of repeat causes. Margins sit short or drift over-extended. Cement gaps end up too tight for the material. Contacts grab the floss or leave black triangles. Occlusion rides high because nobody verified the opposing scan. None of these errors come from a lack of skill. They appear when a designer juggles a dozen cases at once and trusts recall over process.
Structured lists solve this problem in other high-stakes fields. In aviation and surgery, a simple checklist keeps routine tasks from failing under pressure. Your bench faces the same math, only with units instead of patients. Before any design file moves to milling or printing, someone should answer a fixed set of questions. The sections below turn those questions into a sequence you can run at the screen.
The Pre-Delivery Checklist, Step by Step
Work through the checks in order, because each step builds on the one before it. The same dental CAD design checklist covers a single crown and a full-arch case. For one unit the full loop takes a few minutes. For an implant bar or a hybrid, plan on closer to ten. Either way, the order matters more than the speed.
Margins and seating surfaces
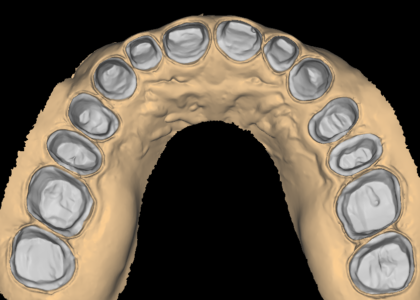
Start at the margin line. First, confirm it follows the prescription, whether supragingival, equigingival or subgingival. Zoom in and check that the line runs continuous, with no gaps from scan stitching or fuzzy anatomy. Then inspect the intaglio surface for bumps where the scanner picked up stone or debris. A crown that fails here will never seat, no matter how clean the occlusion looks.
Cement gap and spacer settings
Next, open the cement gap parameters and compare them with the written protocol. Zirconia usually needs a wider spacer than an e.max veneer, and a cemented abutment differs from a screw-retained one. Confirm the gap starts exactly at the margin and stays consistent toward the occlusal. A setting left on the software default is one of the most common reasons a restoration feels tight at try-in.
Contacts and occlusion
Check proximal contacts at three points on each box: mesial, mid and distal. Every contact should show a light, even mark, tight enough to hold floss with gentle drag. Then review the occlusion in articulation. Verify the opposing scan orientation, look at centric contacts, and clear the excursive movements of heavy interferences. Screenshot the contact map so the prescribing lab sees exactly what you checked.
” alt=”margin detection panel in dental CAD software used to verify scan quality” class=”wp-image-794″/>
Thickness and material minimums
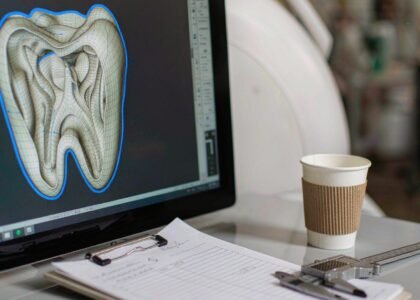
Run a thickness analysis for the chosen material. Zirconia crowns generally need at least half a millimetre of wall, while layered PFM copings and e.max carry their own minimums. Flag any thin or over-thick zone before the file leaves the studio. Also confirm the design matches the production method, because a milled wax pattern and a printed model follow different rules.
Insertion path and implant fit
For removable and implant work, add two checks. Confirm the path of insertion on a partial framework, with survey lines and clasp undercuts engaged as surveyed. On implant cases, verify the correct library, scan body alignment and screw channel direction. A passive fit starts with these three confirmations, and no amount of later adjustment fixes a wrong angle.
File hygiene and the delivery package
Finally, tidy the file itself. Remove leftover construction history, name each unit clearly, and export in the format the lab requested. Attach screenshots of the margin and contact map, plus a short note on anything unusual. A clean delivery package saves the receiving bench several minutes per case, and those minutes add up fast across a busy week.
How to Run the Checklist Without Slowing the Bench
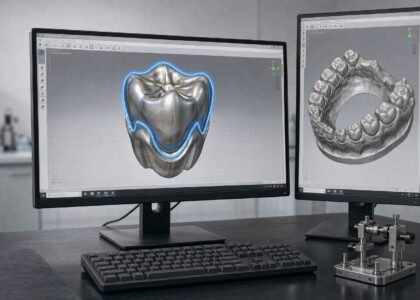
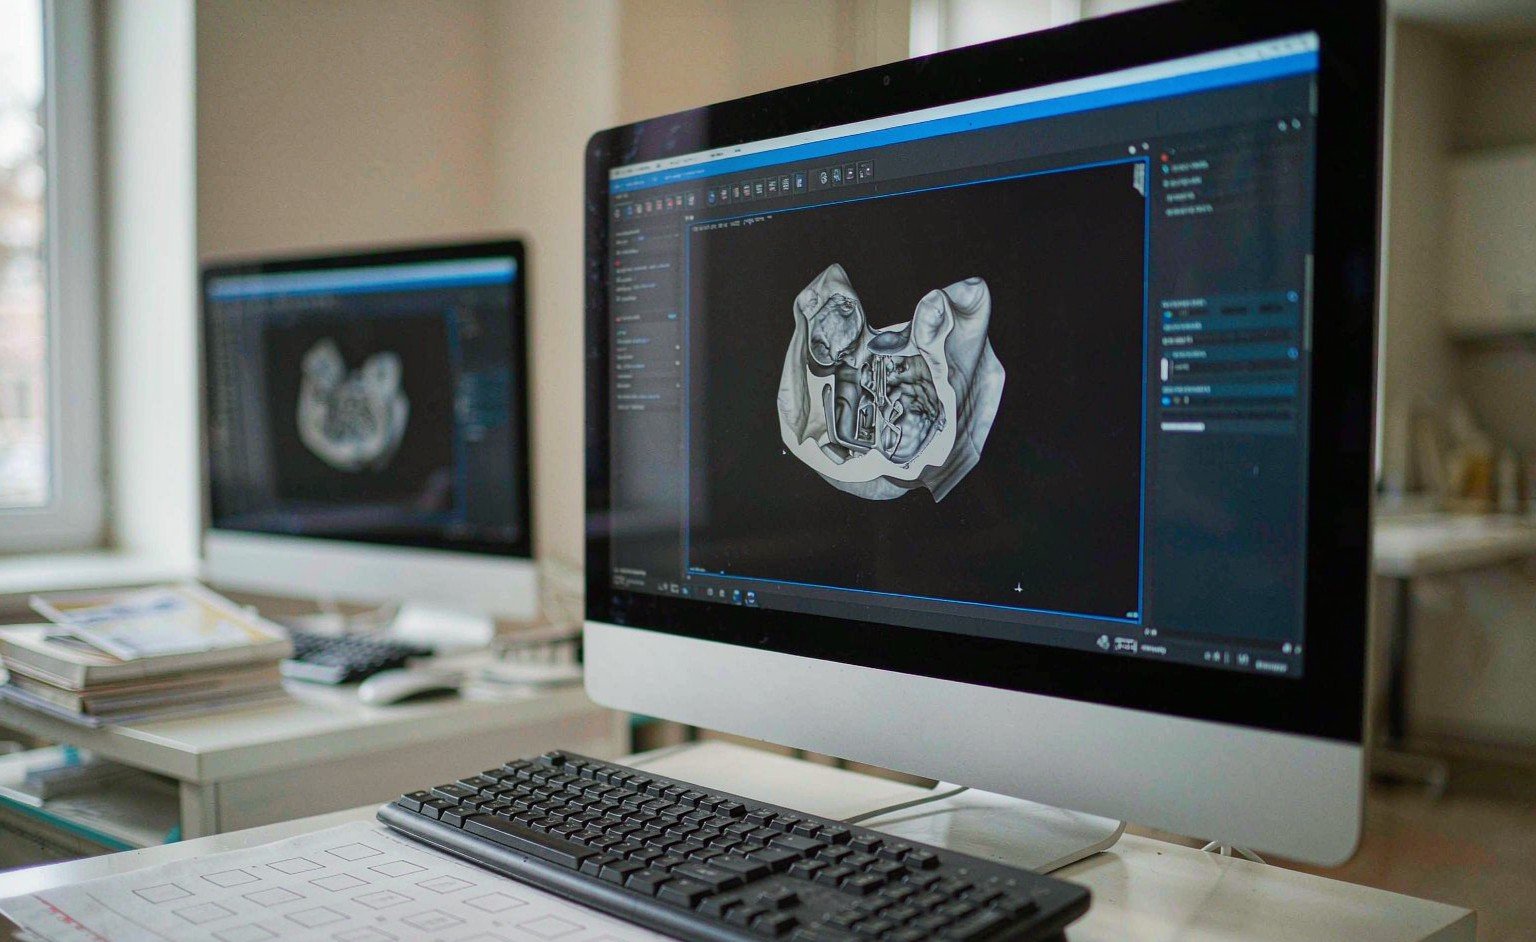
A checklist only works if designers actually use it, so keep it on one page and pin it beside each workstation. Build the review into the design session instead of treating it as a separate chore. For example, a senior designer here signs off every case against the same dental CAD design checklist before release. The review adds a few minutes to each job, yet it removes the far slower loop of a remake and a second delivery cycle.
” alt=”exocad design software screen a senior designer reviews during a dental CAD design checklist” class=”wp-image-874″/>
Also, track your remake reasons for a month. Most labs find that a few failure modes map directly to two or three checklist lines, which tells you exactly where training should focus. When the bench is already booked solid, outsourcing the overflow to a design partner keeps turnaround at 12-24 hours while the checklist protects quality on both sides.
After the Checklist: Fewer Revisions, Faster Delivery
In short, a pre-delivery checklist changes the conversation with your clients too. Instead of explaining a remake, you hand over a file with documented checks attached. Over time the list becomes part of your lab’s quality story, and it shortens onboarding because new designers inherit a written standard rather than tribal knowledge.
If you want to see how a checklist-driven workflow performs on a real case, send us one job from this week. We design in exocad and 3Shape, follow your protocol line by line, and return production-ready files within 12-24 hours. Start with our crown and bridge design service, or send a question through our contact page and a designer will answer.