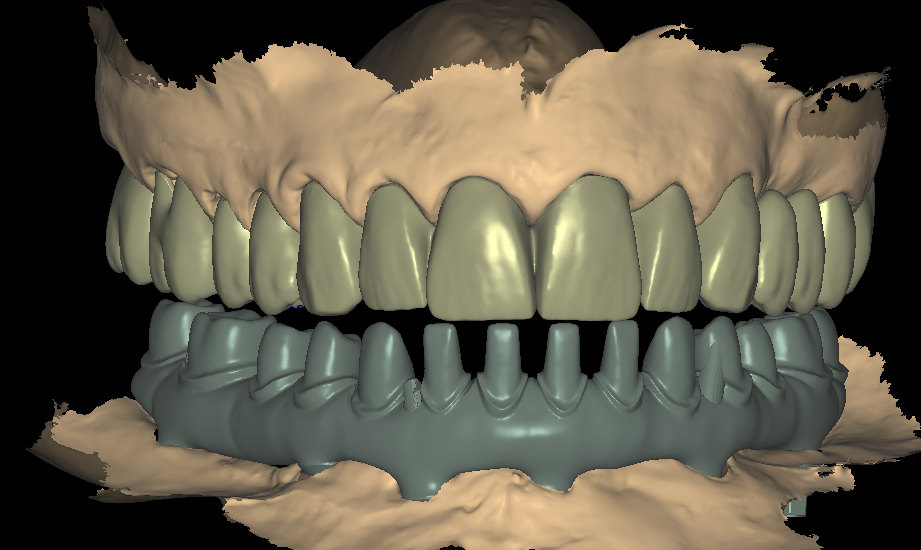
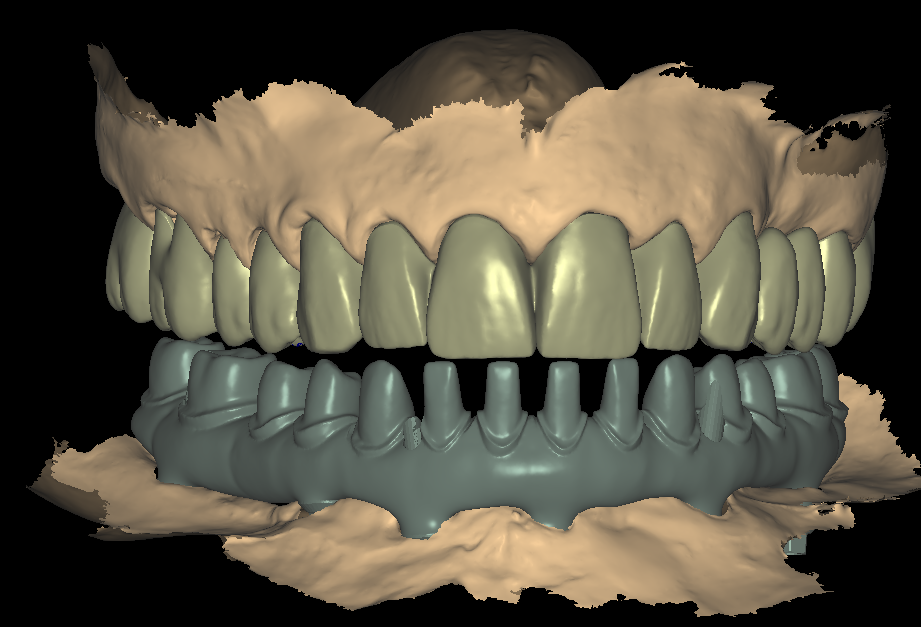
Full arch implant case planning decides the outcome long before anyone mills a bar or prints a try-in. The scan looks finished, the library fits, and the teeth sit where the wax-up placed them. However, the case still has to seat passively on implants that live in bone, not in software. That gap between the file and the mouth is where full-arch work succeeds or fails.
This article walks through the planning decisions that protect passive fit: the tooth position, the scan protocol, the verification jig, and the staging. None of them require new software. Together with a disciplined order of operations, they turn a risky case into a repeatable one.
Why Passive Fit Decides the Full-Arch Case
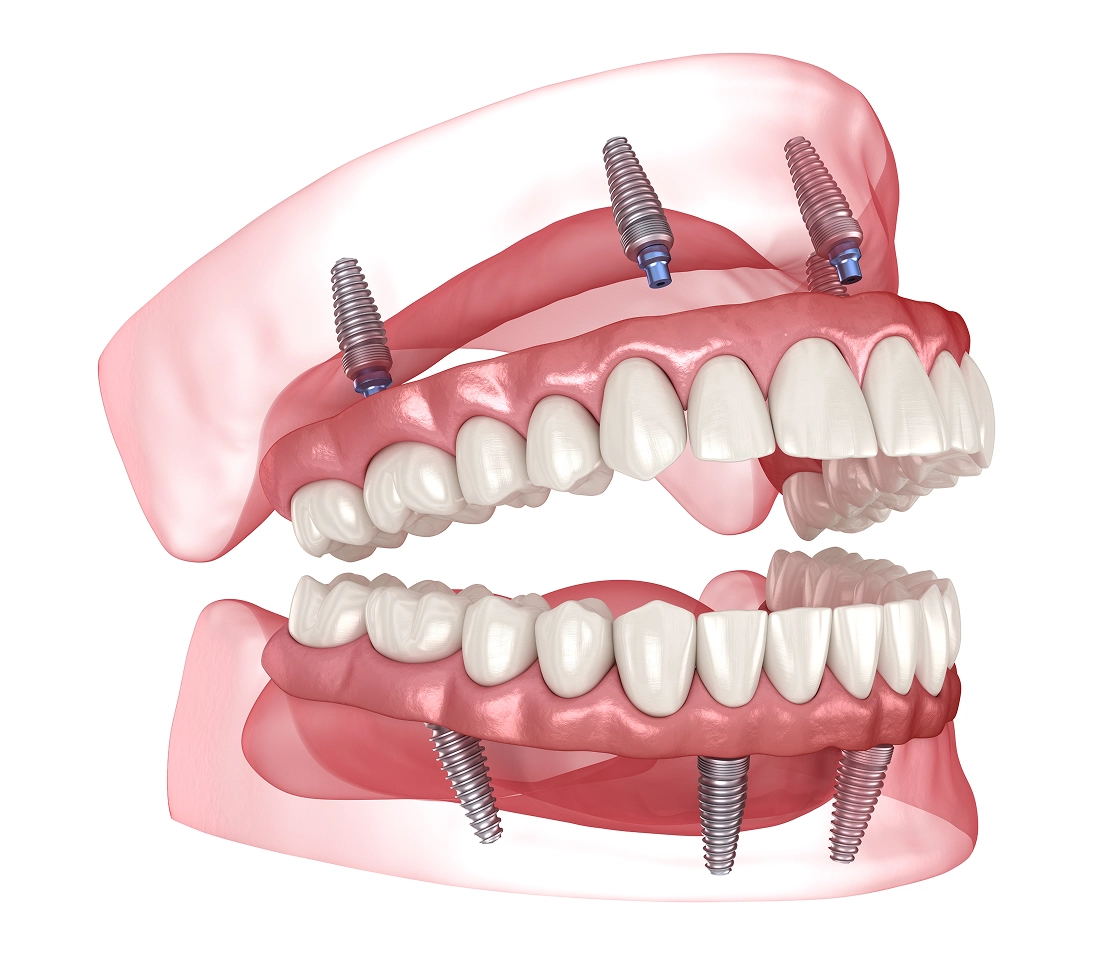
A full-arch bridge that binds on one abutment transfers stress into every screw and every interface of the implant-supported prosthesis. In practice, that shows up months later as screw loosening, porcelain fracture, or a prosthesis that rocks under biting pressure. The clinician then faces an adjustment visit, or worse, a remake that restarts the entire schedule.
Because a misfit grows more expensive with each stage, late discoveries hurt the most. A binding spot caught on the jig costs a rescan. The same spot caught after zirconia sintering costs a whole framework. So the planning process exists to move that discovery earlier, where it stays cheap.
Begin With the Tooth Position
Strong cases begin with an approved tooth setup. The incisal edge position, the occlusal plane, and the smile line all decide where a framework can run and how thick it can stay. Once the laboratory and the clinician lock that setup, it becomes the blueprint. Every later choice, from connector thickness to channel angle, then serves the teeth instead of fighting them.
Screw channels deserve the same early attention. Multi-unit abutments provide angled-correction options, while Ti-bases keep the interface simple and short. For example, an anterior implant with a labial inclination can force an angled channel or a split design. Facing that in CAD costs nothing; discovering it after milling costs the case.
Restorative space belongs in the plan too. Measure the vertical and horizontal room between the scan and the planned teeth, then confirm the material fits inside it. A titanium bar with a composite superstructure needs different clearance than full-contour zirconia. When the space looks tight, say so before the framework stage, not after.
Implant Scans and Verification Jigs
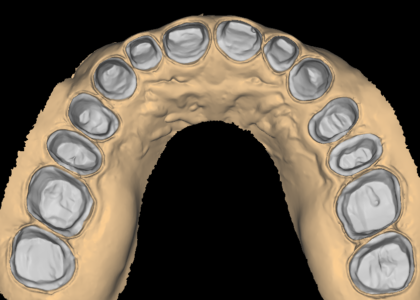
Full arch implant case planning lives or dies on implant position data, so treat the scan as evidence rather than decoration. A verified, open-tray implant-level scan records true positions. Tissue-level captures and desk-scanned models often drift, and small drift multiplies across ten implant positions.

Then confirm the record with a sectioned verification jig. The jig seats in segments, so soft-tissue distortion cannot hide a misfit between implants that sit far apart. Join the segments in the mouth, pick them up with a light-cure material, and rescan the assembled record. As a result, the design file carries positions the mouth actually agrees with, and the final bridge inherits that accuracy.
Some cases need a second record even after a good jig. Watch for gaps at any one implant, movement between segments, or a scan that disagrees with the surgical report. When any of those appear, ask for a repeat impression before design starts. One extra appointment beats a framework that never seats.
One Piece or Segmented?
A one-piece bridge mills or prints fast and carries no internal connectors to polish. However, it demands near-perfect implant geometry and generous spacing between implants. Long spans also concentrate stress at the terminal abutments, where flex becomes hardest to control.

Segmented designs split the arch into shorter units with planned connectors. Each unit seats over a shorter span, so passivity gets easier to reach and to verify. Also, a laboratory can remake one segment without disturbing the rest of the case. The trade is connector management, because every junction needs width, height, and a position that survives function. Decide the split early, together with the material, since milling and printing routes differ.
Whichever route you choose, put it in the prescription. Note the material, the split, and any connector limits, then attach the approved setup. Designers make better calls when the plan sits in writing, and the case avoids the back-and-forth that grows out of assumptions. A one-line note about a preferred connector size, for instance, saves a full revision round later.
A Stage-Gated Workflow That Holds the Schedule
Full-arch work rewards structure. Our studio runs every All-on-X bridge design case through the same gates: the approved setup first, then the framework, then full contour. Each stage returns within 12–24 hours, together with a short PDF that shows what changed and what needs approval. Nothing advances until your team signs off, so the schedule and the fit stay connected.
Materials and libraries enter the plan at intake. Tell us the implant system, and the case runs on the matching library in exocad or 3Shape; if a library is unavailable, we flag it before work starts. A senior designer reviews every file before delivery, and minor revisions come back fast without friction. Full arch implant case planning turns predictable when the stages stay gated and the documentation stays short.
Passive fit is not a finishing trick; it is the product of decisions made in order. Lock the teeth, verify the implants, choose the split, and stage the approvals. If your laboratory wants that structure without the design hours, browse our complete design services or contact us with a verified scan and your prescription. We will confirm the stage plan and the delivery time within one working day.