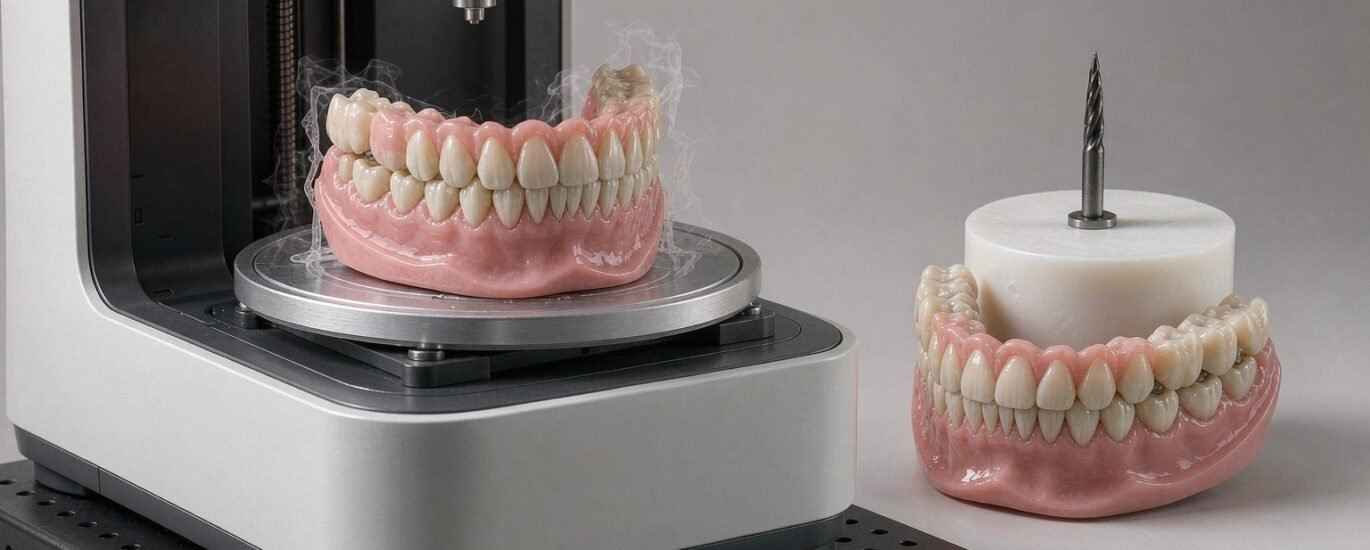
Acrylic denture design has reached a genuine fork in the road. Your lab can print the final prosthesis layer by layer, or mill it from a prepolymerized PMMA disc. Both routes begin with the same digital tooth setup, yet they punish different mistakes. In this guide, we compare both workflows from the design bench side: the file, the machine and the wins. The goal is simple. You should be able to assign each of next week’s denture cases to the route that fits it best.
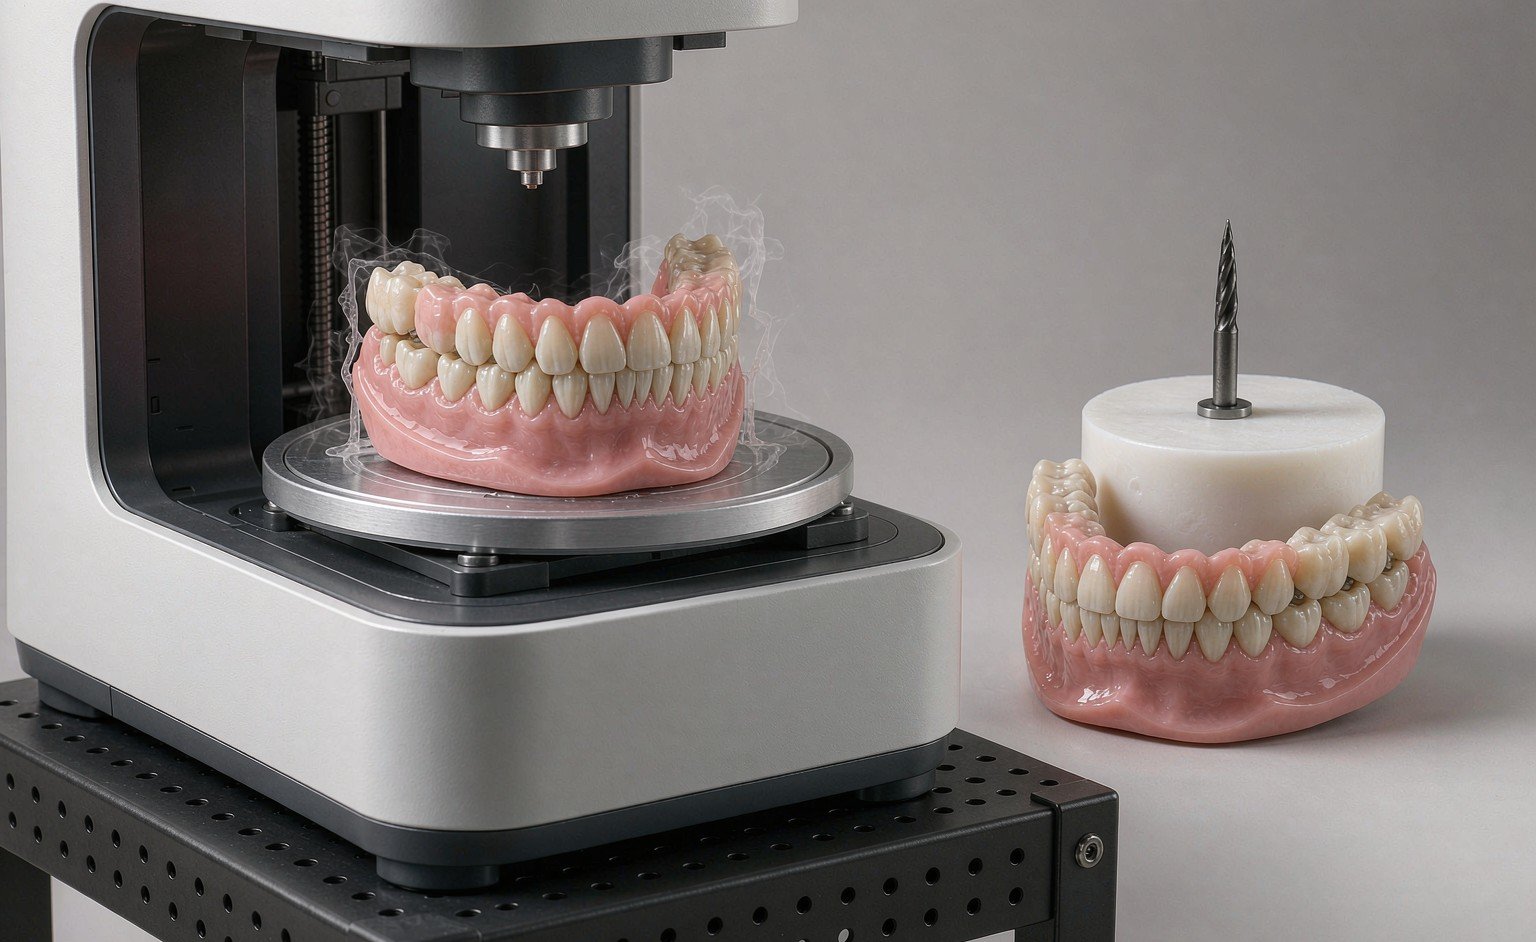
Why the Print-or-Mill Decision Starts in the Design File
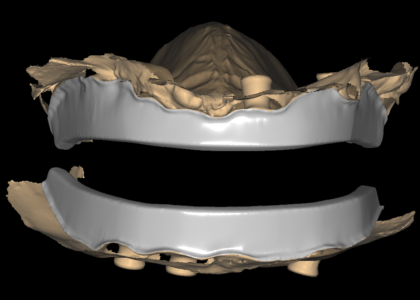
Many labs treat printing and milling as a production question only. In practice, the decision reaches back into CAD, because each route stresses a digital denture differently. A printed base cures layer by layer and shrinks as it polymerizes. A milled base comes out of a disc that was already fully cured under pressure. Its shape barely moves after machining. As a result, the same tooth setup needs different walls, reliefs and thicknesses depending on the route you pick.
There is a second reason to decide early. Designers who know the destination build files that survive the machine. They leave the right relief under the intaglio surface and keep wall thickness above the process floor. They also avoid sharp internal angles the bur or the resin cannot follow. Decide the route before the designer opens the case, and you remove an entire class of remakes before they exist.
What printing rewards
Printing turns a denture file into a repeatable asset. Once the design is approved, you can reprint the same case months later. The only waste is a failed print. For interim dentures, immediates and economy full dentures, that repeatability is the main draw. In addition, printed teeth and base come from the same resin family. The bond between them is chemical rather than mechanical.
The trade-off shows up in accuracy. Resin shrinks as it cures, and thin or knife-edge sections distort first. Good printed denture files therefore keep intaglio surfaces smooth and even. They spread thickness across the palate or ridge and add relief where the fit surface meets the machine’s tolerance. With a printed denture, a slightly generous relief prints away; a too-tight intaglio prints into a chairside adjustment.
What milling rewards
Milling cuts the denture from a puck of prepolymerized PMMA. The material was polymerized under industrial pressure and temperature. The result is dense, low in residual monomer and stable in the mouth. For premium full dentures, that stability shows up as fewer porosity complaints and a polish that holds. Labs also like the low shrinkage, because a milled intaglio tends to seat the way it was designed.
The constraint is geometry. A bur cannot reach every corner, so the design file must respect tool access. Deep undercuts behind the ridge, sharp internal angles and very thin flanges all invite machining problems. A milled denture file therefore keeps curvature gentle and avoids features the disc and the bur cannot express. For a quick primer on the material itself, this overview of heat-cured PMMA explains why its polymerization history matters.
How Acrylic Denture Design Changes Between the Two Routes
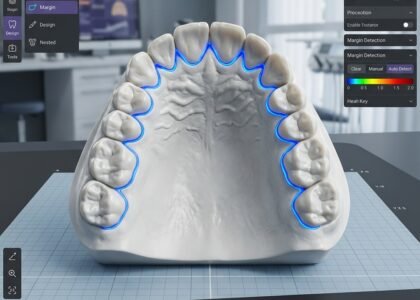
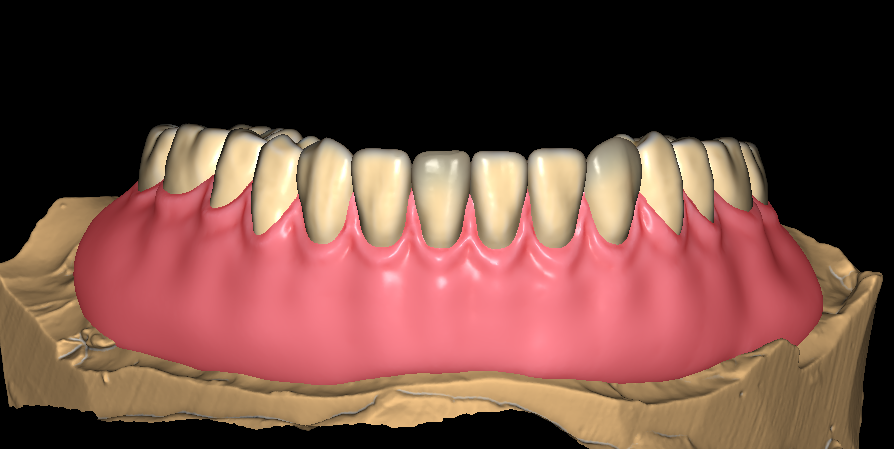
The records never change. Final impressions, model scans, a bite registration, vertical dimension and midline records drive the setup. Tooth mould and shade preferences apply the same way on both routes. What changes is the finishing layer of the design. On a printed case, the designer plans for shrinkage and layers. On a milled case, the designer plans for the bur.
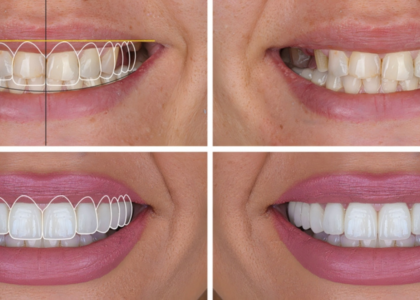
Meanwhile, the tooth setup itself travels untouched between routes. That fact matters more than labs sometimes admit. If your designer builds the setup with ridge position, neutral zone and balanced occlusion handled correctly, the route stays open. You can print this month’s case and mill next month’s from the same protocol. The route is a production choice layered on top of a stable design, not a separate design philosophy.
Settings that matter for printed dentures
Printed cases reward three habits. First, keep the intaglio free of sharp ridges, because smooth curves print true and distort less. Second, hold base thickness above the floor your resin system recommends. This matters most across the palate, where a thin web will warp. Third, design the tooth-to-base junctions with enough shared surface for the bond to carry load. Each of these habits costs the designer minutes and saves the bench hours.
Settings that matter for milled dentures
Milled cases reward a different trio. Keep internal angles open so the bur can reach the fit surface. Respect the disc, which means checking flange height and thickness against the puck before nesting the case. And keep insertion direction simple, because deep mechanical locks that would print fine will fight the milling path. None of this is difficult; it just has to be deliberate.
Print or Mill: A Simple Decision Rule for Your Lab
Use case economics to sort the queue. High-volume interim and economy dentures, immediates and any case likely to need a fast remake belong on the printer. Premium full dentures for demanding patients belong on the mill. The same goes for cases where density and wear resistance matter. So does work you want to seat with minimal adjustment. When in doubt, print the try-in stage, mill the final. That combination gives you patient approval speed and a dense final prosthesis in one workflow.
Equipment changes the math as well. A lab with an open resin workflow and spare printer capacity will push more volume through printing. A lab that already mills PMMA temporaries can add milled dentures with almost no new investment. Either way, the design partner should adapt to the equipment you own, not the other way around.
Acrylic Denture Design Support for Both Routes
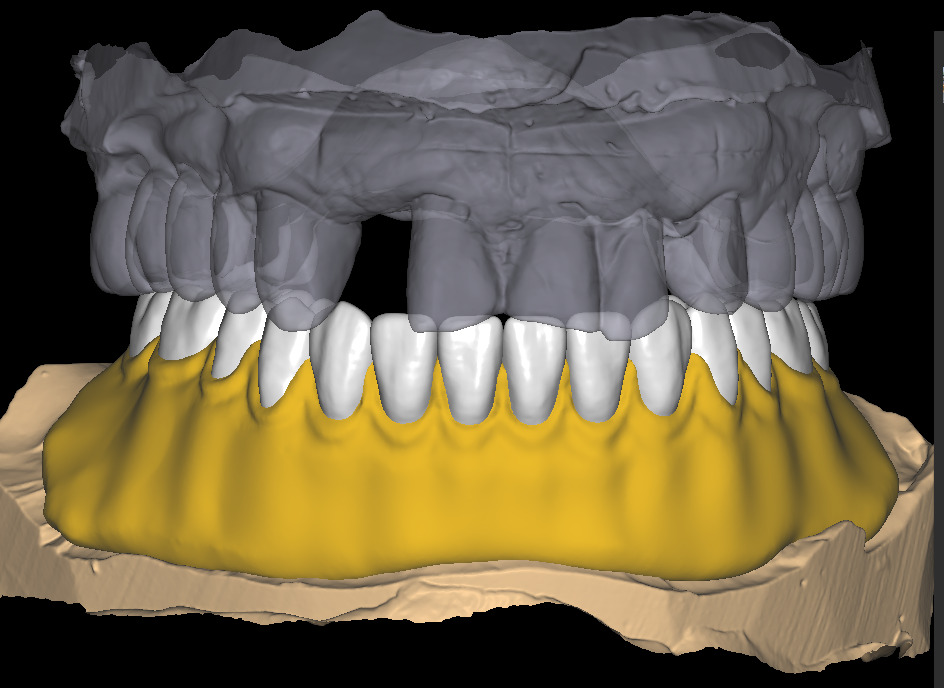
OdontaLab designs acrylic dentures for printing and milling every day, in exocad and 3Shape. Tell us your printer, resin system or mill once. We store those parameters against your account, so every future file arrives pre-configured for your line. You can also split the case into a try-in setup stage and a final stage. That keeps patient approval appointments moving without holding the schedule open.
Standard turnaround is 12-24 hours from receipt of complete records. Minor revisions are unlimited until the setup is approved. Either way, the file lands in your queue ready to run. Send us one case from this week and judge the fit, the documentation and the turnaround for yourself.
See all design services or send a case to start with an acrylic denture this week. For a broader look at digital dentures, our guide to outsourced acrylic denture workflows covers the full service in detail.