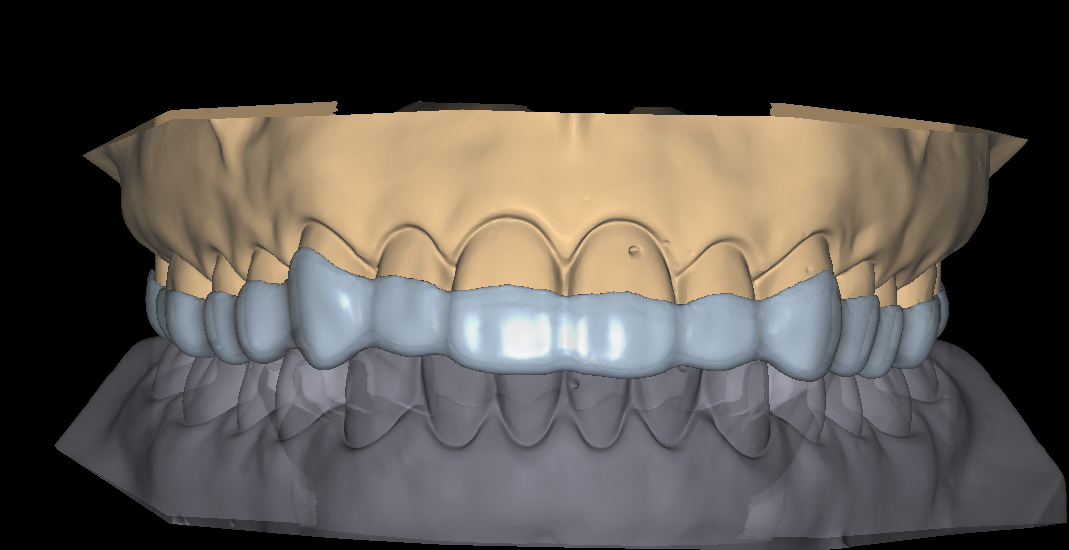
Splint design is the part of appliance work that looks simple and rarely is. The appliance seats in seconds, the patient wears it at night, and nobody photographs it. That is exactly why mistakes survive. A guard with one heavy contact can wake a patient with a sore jaw, while a splint printed 0.4 mm thin can crack before the review appointment.
Most of these cases come back to the laboratory as a remake rather than as a complaint about the file. So the design stage is where you win or lose the case. Below are the failures we see most often in splint work, and the habits that keep them out of the mouth.
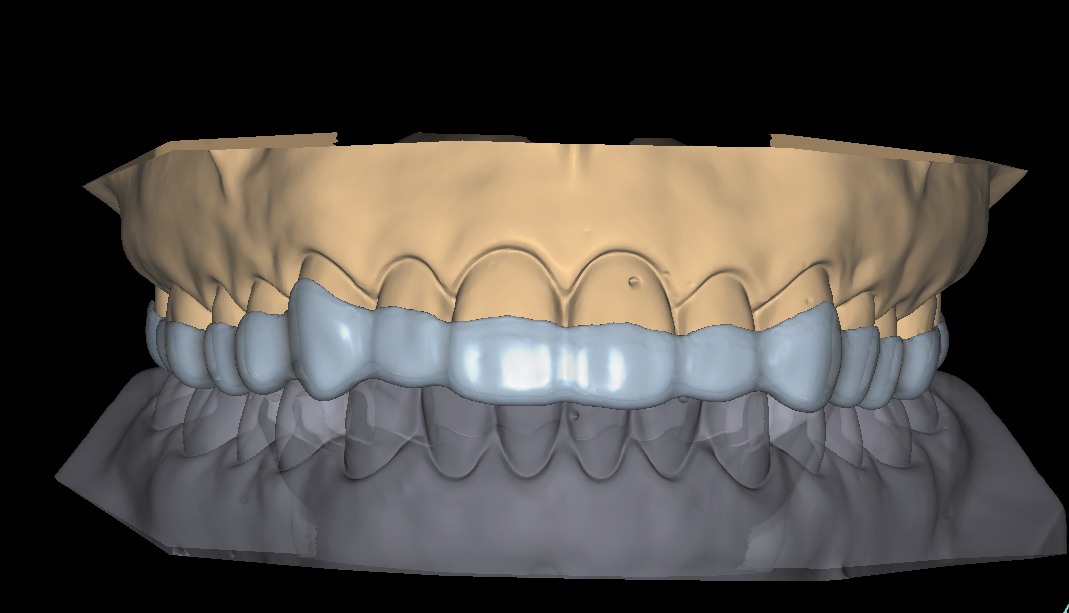
Why splint design fails at the occlusal surface
Three problems account for most splint remakes. Contacts are not even, thickness ignores the material, and retention fights the gingiva. None of them show up on a buccal screenshot. All of them show up in the mouth within a week.
Contacts that are not even
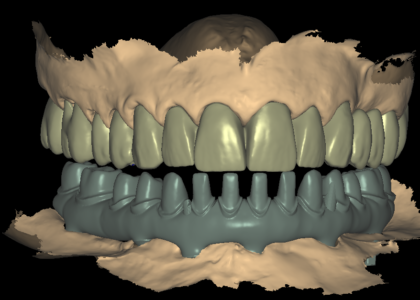
A stabilization splint only works when the posterior teeth touch at the same time and the front teeth do not. In CAD, that means checking the occlusal map against the opposing model instead of eyeballing the buccal view. If the software shows one heavy red spot on a molar, the patient will find it too. Clenching loads travel through that single contact, and the appliance turns into a lever.
Thickness that ignores the material
Thickness is a material decision, not a number copied from the last case. Hard acrylic and a printed hybrid wear at different rates, and a patient with visible wear facets needs more material under load than a mild clencher. Grinding severity, which clinicians usually file under sleep bruxism, drives that figure far more than arch size does. Many prescriptions settle between 2 and 3 mm, yet the number should follow the material, the wear history and the occlusal scheme.
Retention that fights the gingiva
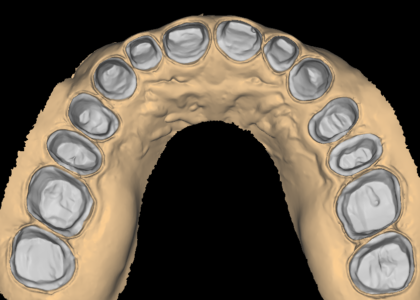
Over-extension is the quiet failure. A splint that grips past the height of contour feels tight on day one and hurts by day three. The peripheral roll should stop short of the functional gingival margin while still engaging enough undercut to stay seated. Checking the insertion path against the opposing model catches most of this before the file leaves the studio.
Read the prescription before splint design starts
An occlusal appliance is a therapeutic instrument. The dentist prescribes a treatment position, and the design has to express it. When the prescription is vague, the honest move is to ask, because a designer guessing at the therapeutic position wastes everyone’s day.
Flat plane, canine guidance or deprogramming
Each scheme changes the anatomy you build. A flat-plane splint needs even, simultaneous stops and no interference in excursion. A canine-guided splint needs guidance ramps formed on the canines with the posteriors clear. An anterior repositioning splint follows a recorded therapeutic bite, so the bite registration matters more than the scan.
Print or mill changes the file
The fabrication route decides how we prepare the file. A milled splint needs a minimum wall thickness that survives the tool, plus a blank size that fits the arch. A printed splint needs supports placed away from the intaglio, a drain path for resin, and a build angle that keeps the occlusal surface accurate. Handing a mill file to a printer, or the reverse, usually ends in a remake.
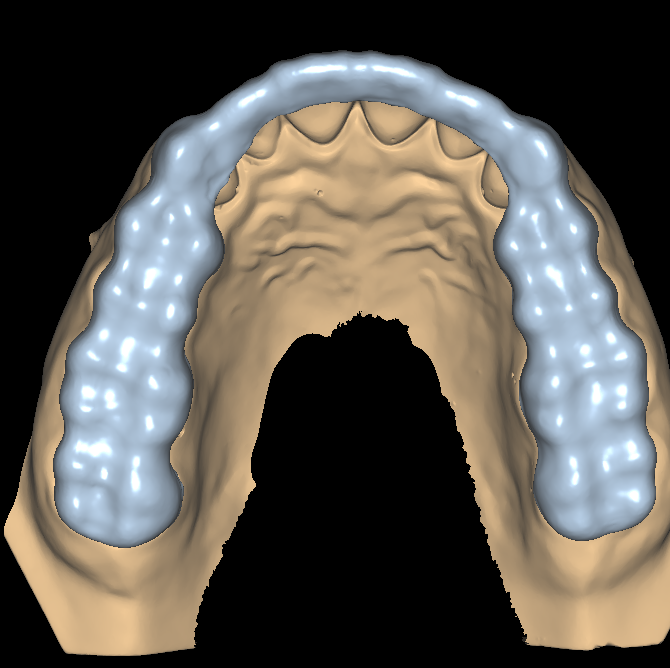
What a clean handover contains
A good splint case arrives with four things attached. Upper and lower scans, a bite registration, the written prescription, and the material plus fabrication route. When one of those is missing, the design either stops or continues on an assumption. Assumptions turn into revisions.
Scan quality deserves its own check. A bite registration with a smear of distortion shows up later as an uneven contact pattern, and no amount of design time repairs a weak record. Before you send the case, look at the trimmed dies and the gingival margin on the scan. If the margin looks soft, the retention will feel soft as well.
Records matter most for repositioning appliances. For a simple night guard, a scanned opposing arch and a bite registration still give a better occlusal result than a working model alone. If you only have the working arch, a designer can build to a nominal flat plane and say so in the delivery notes. That is a workable compromise, as long as both sides know it.
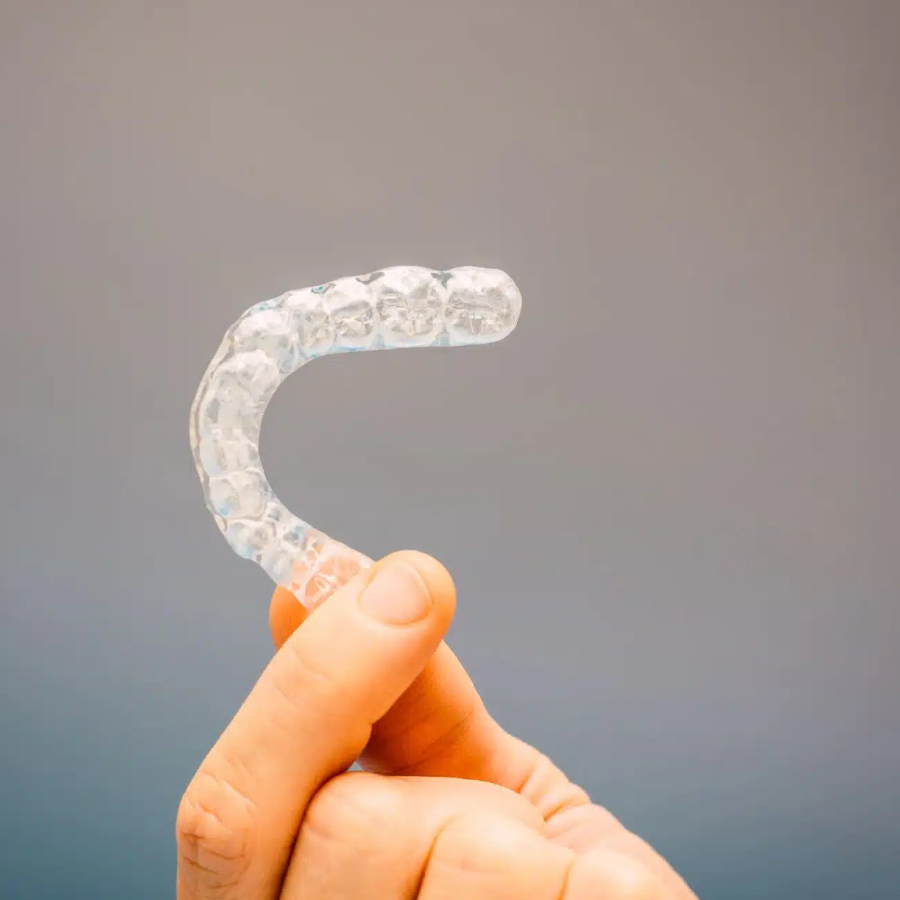
How we handle splint design at OdontaLab
Every splint case goes through the same six steps as our restorative work. We check the records against the prescription, design in exocad or 3Shape, then send the file to a senior designer before it reaches your download queue. Standard turnaround is 12-24 hours from receipt of complete records, and we confirm rush cases before we start.
Quality control for appliances is quick, though not optional. We read the intaglio for pressure points, the occlusal surface for a single high spot, and the border for over-extension. Those three checks take minutes. A remake takes a week.
Because splints are high-volume, low-margin work, consistency matters more than artistry. A batch of five guards should share the same thickness logic, the same peripheral roll and the same retention behaviour, so your finishing bench knows what to expect. Minor revisions come back without friction, and we keep your preferences on file for the next batch. The full scope sits on our splint design service page, and you can read how the wider workflow runs on the services page.
Appliance work also rewards a fixed baseline. Once we settle the thickness, the peripheral roll and the relief space for a given laboratory, every later guard starts from that template. Designers then adjust for the patient instead of rebuilding from scratch, which saves real hours on a batch of ten.
If a design keeps coming back to your bench, send the file and the prescription to our studio. We will point at the contact or the wall thickness that caused it before you cut another appliance.