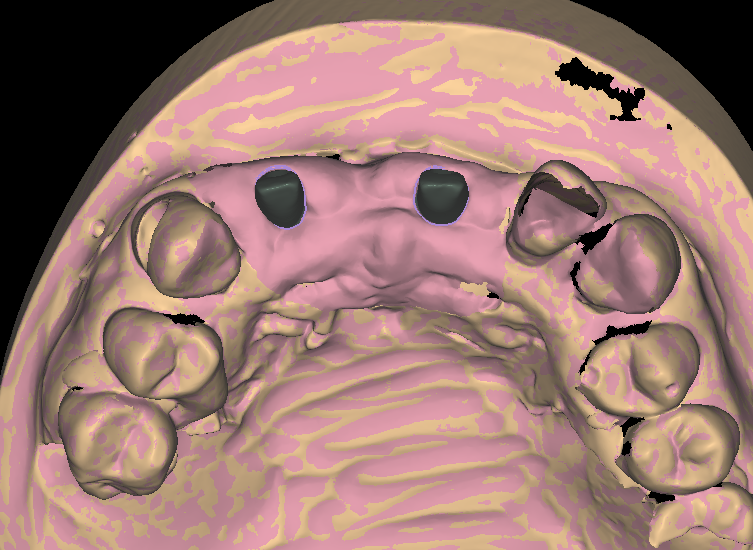
Emergence profile design is the part of an abutment that meets the tissue. It decides more than most labs expect. Get the contour right and the peri-implant tissue heals flat. It reads pink and holds its shape through years of hygiene visits. Get it wrong and the same case comes back as a dark triangle, a food trap or a remake. This article breaks down how we approach the contour on every custom abutment. It also shows where labs most often lose the plot.
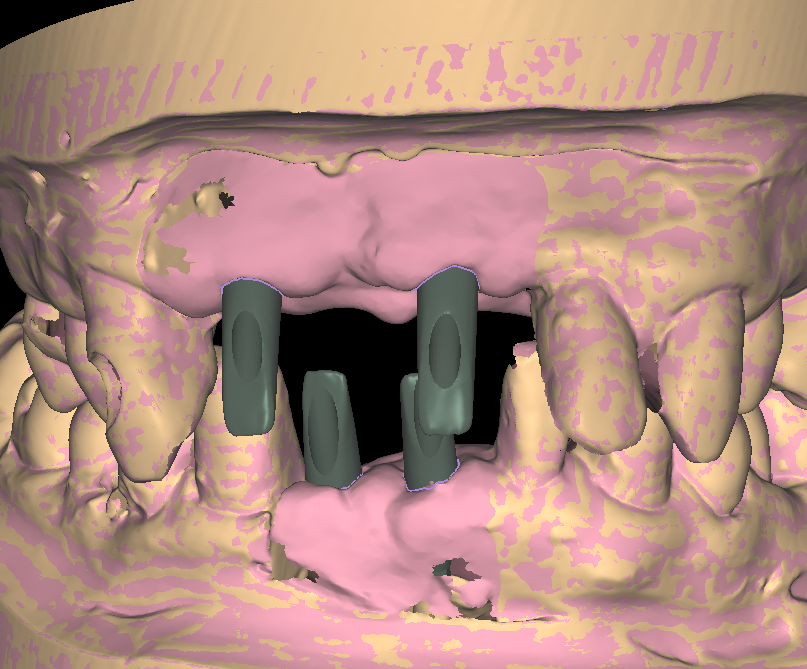
What the emergence profile actually controls
The emergence profile is the slope that connects the implant platform to the finish line of the abutment or crown. In practice, it is the surface the soft tissue drapes over. That single surface sets three outcomes at once. It shapes how the tissue heals after delivery. It also decides how the restoration reads in a smile. And it decides whether the patient can clean the site with ordinary floss.
A natural tooth narrows as it meets the gumline. The tissue expects a similar transition around an implant, only gentler. The biology is unforgiving in one specific way. The tissue around a fixture has no periodontal ligament. The seal against the abutment is all it has. When the contour follows the tissue’s own architecture, the peri-implant mucosa closes against the surface and stays stable. That stability is the whole point of osseointegration once the restoration is loaded. When the contour fights it, pressure concentrates where the tissue is thinnest, and low-grade inflammation follows.
Three ways an emergence profile goes wrong
A cylinder is not a contour
Stock abutments are machined as close to cylinders as manufacturing allows. Drop one into an anterior site and the tissue either crowds over it or collapses away from it. A designed abutment widens gradually from the platform. It matches the convexity of the adjacent teeth at tissue level, then flattens toward the occlusal. The difference shows up at the delivery appointment, and it shows again at the five-year recall.
Scan data without a tissue reference
The scan shows where the tissue is, not where it should be. A healed site often arrives with rolled, flattened or collapsed contours after months under a healing cap. Designing straight onto that scan bakes the collapse into the restoration. The lab may send a custom healing abutment scan or a pre-extraction scan. In that case we design to the ideal contour and let the tissue mature into it. Where no reference exists, we shape conservatively and flag the sites we want the clinic to watch.
Overbuilding below the tissue
Extra subgingival bulk feels safer, yet it does the opposite. Too much convexity under the margin compresses the tissue. It blanches on seating and sets up a chronic irritation that is hard to trace later. The fix is boring and effective. Keep the subgingival zone gently concave or flat. Put the contour where the light hits it. Then leave the tissue alone to do its job.
How we build the profile, step by step
Our custom abutment design service follows the same sequence on every case. It works the same for a single central incisor and for a multi-unit set.
Read the site before touching geometry
Before any contour work, the designer maps the soft tissue from the scan. That map covers height at each line angle, papilla position between the teeth, and the arch form across the site. This is also where we check the implant position itself. A platform placed too facially or too deep limits what the profile can achieve. We would rather raise that in one message than design around an unseen problem.
Shape from the platform up
The contour starts at the connection, verified against the implant library. From there it widens through the peri-implant zone at an angle the tissue can follow. That widening is the core of emergence profile design. Finish line placement comes next, set where your technician wants it, supragingival or subgingival per the prescription. Screw-retained cases get the channel corrected where the implant angle allows. So the access exits through the cingulum or the occlusal table, not down the incisal edge.

Verify, export, hand back
Every case passes a senior check before delivery. The check covers connection fit, wall thickness for the chosen material, and the seating path. Files go out within 12 to 24 hours of case receipt. Screenshots show the contour from the views your team prefers. Meanwhile, if an adjustment is needed, send it back with a note and the revised file returns the same way.
Why labs hand this detail to a design partner
Emergence profile design is slow, quiet work. It earns nothing extra on the invoice by itself, yet it decides whether the patient comes back happy. Labs that run their own CAD bench already know the pattern. The contour work is the first thing that slips when the queue fills on a Friday.
Outsourcing it changes the math. Your bench keeps the cases that need judgment at the chairside. Meanwhile the profiling, the connection checks and the export hygiene move to a team that does nothing else. Our designers work in exocad and 3Shape all day across every major implant library. A Nobel conical connection on Monday and an Osstem TSIII on Tuesday are both routine to them. Titanium and zirconia abutments, screw-retained or cemented, all follow the same contour logic.
The arrangement stays deliberately simple. You keep ownership of the protocol. We supply the design hours, a 100% senior check before delivery, and free minor revisions until you approve the design. Take a look at the full range of design services to see where else the same logic applies. Or send one case this week through our contact page. Then judge us on the file that comes back.
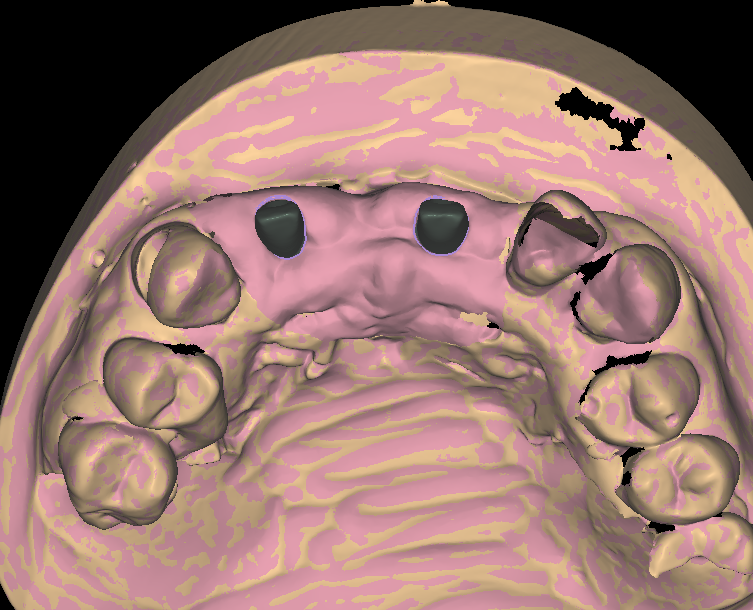
If your implant cases keep coming back with tissue complaints, the contour is usually where the story starts. Fix it at the design stage, and the rest of the restoration gets easier.