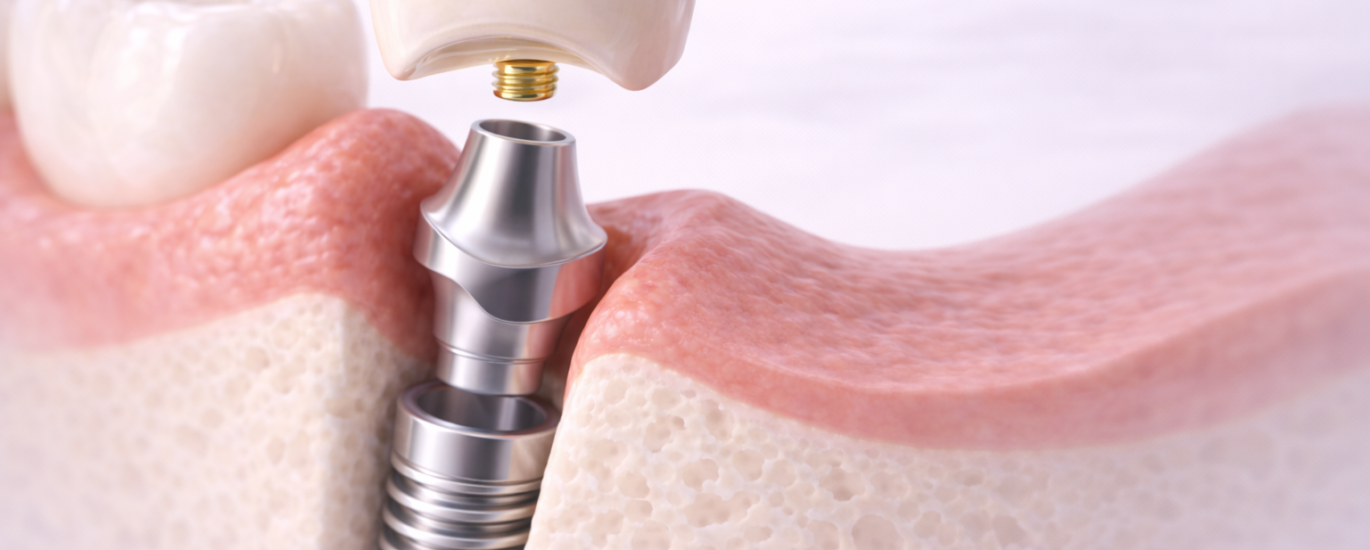
Custom abutment design starts where the implant ends and the restoration begins. A stock abutment is a compromise picked off a shelf, while a designed abutment is built around one patient’s tissue, one implant angle and one planned crown. Because of that, laboratories face the same first question on nearly every implant case: titanium or zirconia? The answer shifts with the tissue, the load and how much of the margin a patient can see. It rarely comes down to material cost alone.
This guide walks through what a custom abutment design has to achieve, where each material earns its place, and how to choose between them without guesswork. The order below follows the way our designers work when an implant case lands on the bench.
What custom abutment design has to achieve
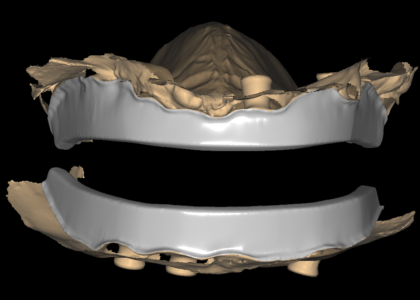
Every custom abutment does three jobs at once, and the design fails if any one of them gets overlooked. First, the connection has to match the implant platform exactly, because an anti-rotation feature that sits a fraction off shows up as a loose crown months later. Second, the emergence profile has to support the soft tissue instead of pushing it. Third, the restoration path has to work: either a clean cement margin above the tissue or a screw channel that exits where a technician can reach it.
Those three jobs pull in different directions. A narrow emergence is kind to the tissue but weak under load. A wide screw channel is easy to service but eats the material around it. Consequently, the material choice follows the geometry, and the geometry follows the case. In practice, a designer who starts with the material usually ends up reworking the case. Dental implants place hard limits on the prosthetic side, and the abutment is where those limits get resolved.
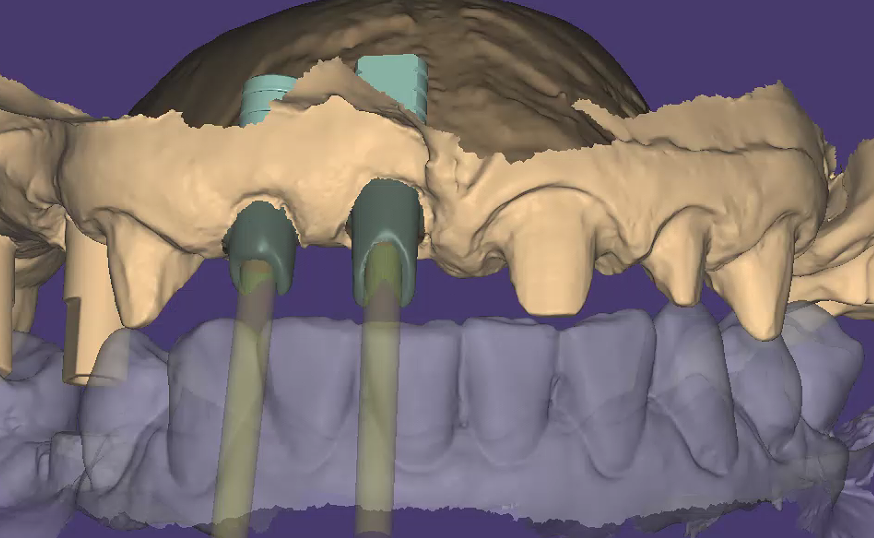
Titanium or zirconia abutments: the real differences
Both materials are proven, and both sit in every major implant library. The difference is not quality. It is how each one behaves once the design gets tight, whether that means thin walls, deep tissue, a steep angle or heavy occlusal load.
Where titanium wins
Titanium tolerates thin sections better than any ceramic. When a screw channel has to pass through the middle of a narrow abutment, or when a crown sits on a second molar under heavy occlusal load, titanium gives the designer room to keep walls thick. It also machines predictably, bonds well to a titanium base, and behaves well under angled screw correction. For bruxers, for long-span bridgework and for anything where the access hole has to be generous, titanium is the safer default.
Its weakness is cosmetic. Metal near a thin gingival margin can read as a grey shadow. On a high lip line, that shadow is the first thing a patient notices.
Where zirconia wins
Zirconia solves the shadow problem. Its color sits close to natural tooth structure, so a slightly visible margin or a thin buccal wall stays hidden in a smile. For anterior cases, and for anyone with a thin tissue biotype, that advantage decides the case. Modern zirconia also carries occlusal load far better than older ceramics, so it is no longer reserved for low-stress positions.
Still, the material has limits. Thin walls carry more risk than in titanium, so a designer has to watch minimum thickness when the implant sits close to a neighbor. A hybrid design, meaning a titanium base under a zirconia superstructure, often gives the best of both, and it is a common answer for screw-retained anterior work.
Emergence profile and the tissue around the abutment
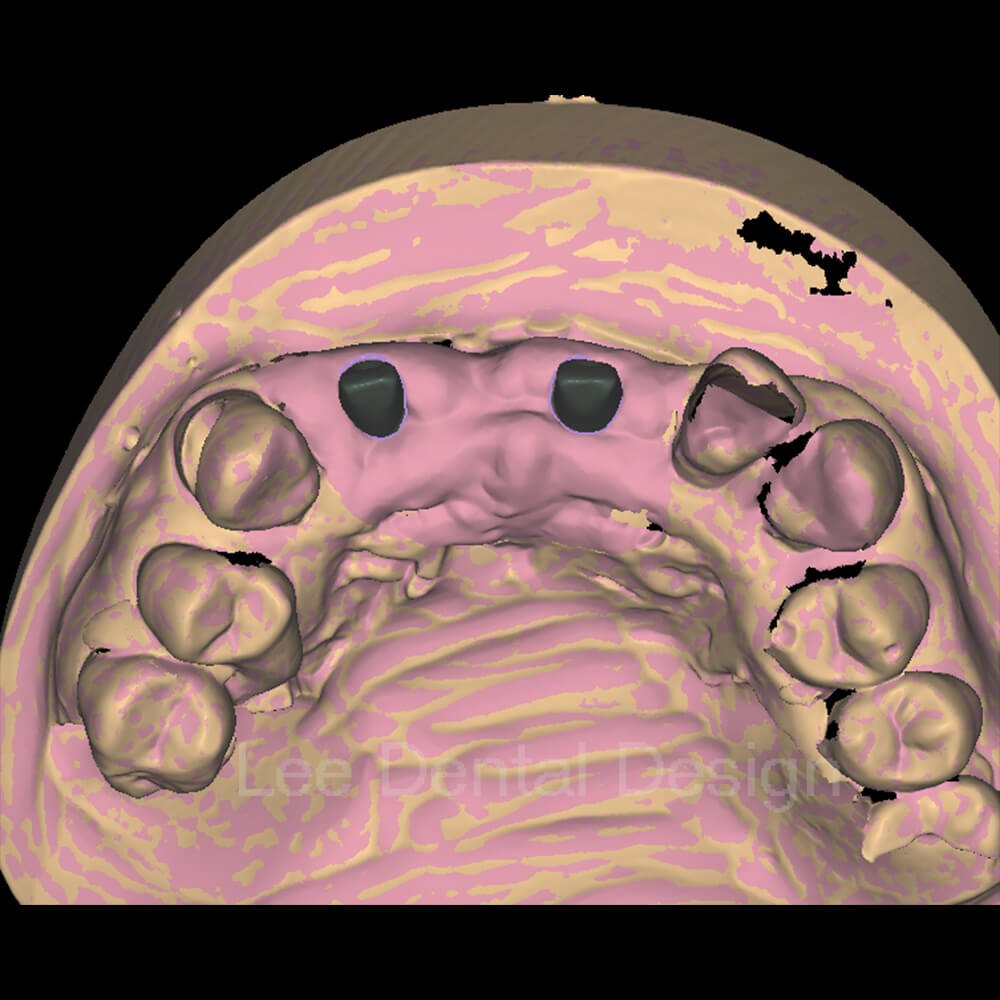
Material gets the attention, yet the emergence profile decides how the case looks and how the tissue behaves. A stock cylinder widens abruptly and pushes the gingiva outward. A designed profile widens gradually from the implant platform, so the tissue gets supported rather than displaced. The difference shows up in the sulcus shape and in the health of that margin over the following months. Good custom abutment design lives or dies on that one surface.
To design that transition well, a designer needs a reference. A healing abutment scan, a pre-extraction scan or a clean intraoral scan of the site all help. When that reference is missing, the profile gets estimated from the neighboring teeth, which works but leaves more to chance. Because of that, sending the tissue reference with the case is the most useful thing a laboratory can do. As a result, most revision requests we see on abutment cases trace back to an emergence profile that had to be guessed.
Choosing the right abutment material, case by case
Custom abutment design work moves faster when a case gets checked in a fixed order, because the material usually picks itself once the constraints are clear.
- Check the tissue. A thin biotype or a visible margin points to zirconia. Thick, flat tissue tolerates titanium without showing anything.
- Check the position. Deep subgingival margins and narrow implant spacing favor titanium, because those walls need to stay thick.
- Check the angle. A steep implant angle usually means an angled screw channel, and that favors titanium or a hybrid design with a titanium base.
- Check the load. Heavy occlusal force, bruxism or a long span points to titanium, or to a hybrid where the base carries the stress.
- Check the retention plan. Cement-retained cases give both materials room. Screw-retained anterior cases often work best as a hybrid.
Document the choice in the prescription. A short note such as “zirconia, thin buccal wall, high lip line, screw-retained” tells the designer everything needed to hold the right thicknesses from the first file. In addition, once that note sits on your account, it carries over to every future case and removes a whole round of questions.
What to send with an abutment case
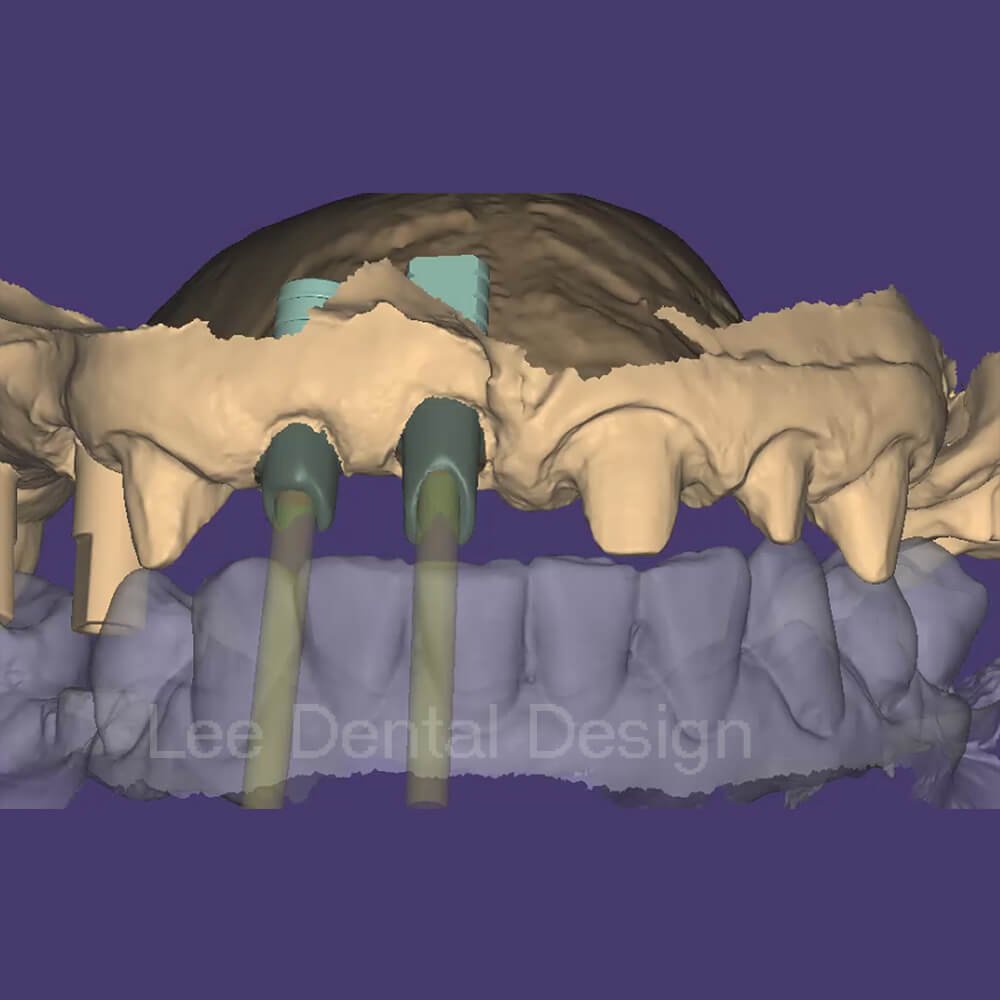
The brief matters as much as the material. Send the scan of the implant position with the scan body in place, plus the opposing arch and the bite. Add the implant system, or simply the scan body used, along with the retention plan and the tissue reference if you have one. Then state the deadline. Once those details sit on file, the design starts from your protocol instead of a default setting. In practice, a complete brief removes most of the guesswork from custom abutment design.
Our custom abutment design service covers titanium, zirconia and hybrid abutments across the major implant libraries, with emergence profiling built from the scan and every connection verified against the library before export. Each file gets a senior review before delivery, and standard turnaround is 12–24 hours. If you would rather see how that fits the rest of your production, browse the full range of design services. Or send a real case from this week and judge the fit yourself. The contact page takes the files, and we confirm the design path the same working day.
Pick one implant case and send it with a short brief. The file comes back within 12–24 hours, and you can check the emergence profile, the screw path and the connection with your own eyes. That test tells you more about a design partner than any page of promises about custom abutment design.