Cement gap design is the quiet decision that settles whether a crown seats, holds and stays seated. The case sheet carries two numbers for it: how much room the luting cement gets, and where that room sits relative to the margin. Move either number and the same crown can swing from a clean seat to a remake. The fit a technician feels on the die is not the fit the patient ends up with. Most laboratories learn this the expensive way, write the values into a protocol, and then stop talking about it.
This guide takes the settings apart, looks at the failures they cause, and shows how to brief a design partner so the numbers you send are the numbers that come back. It is written for lab owners, production managers and CAD technicians who already work in exocad or 3Shape.
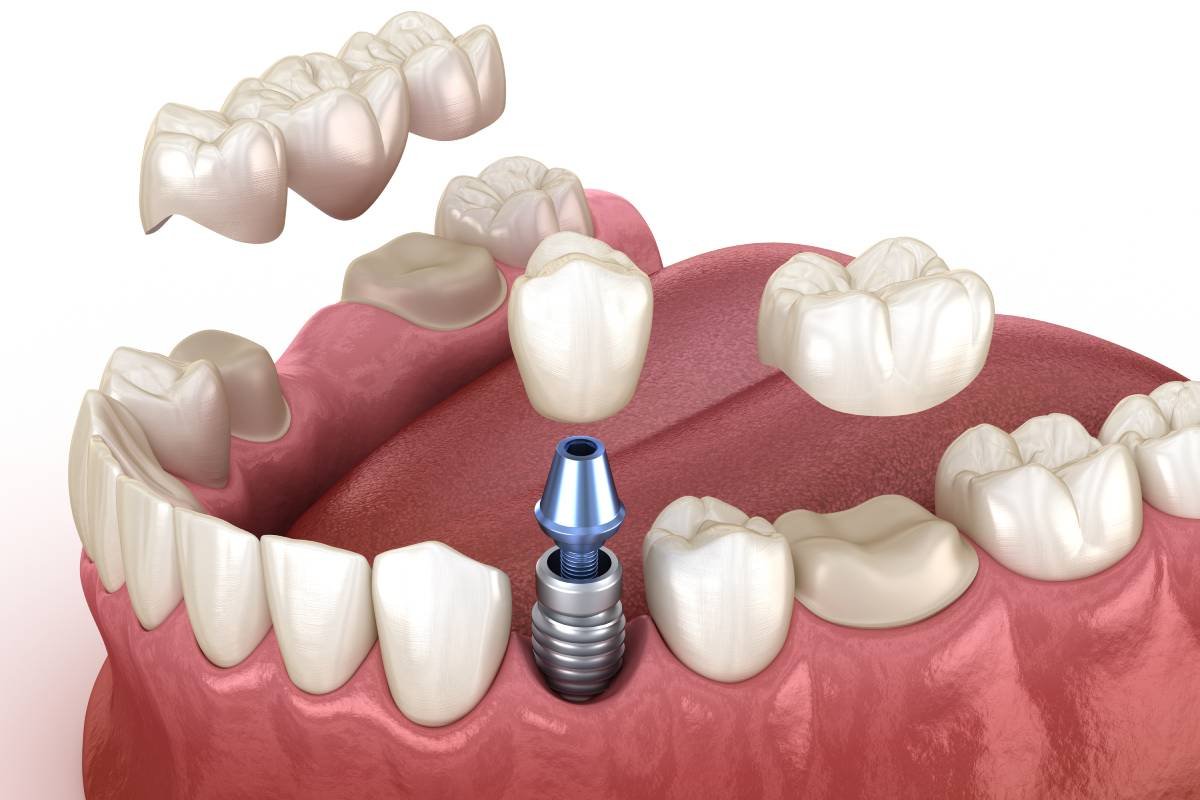
What the cement gap actually controls
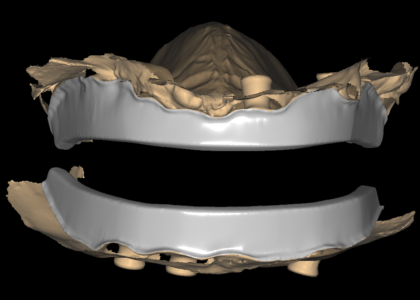
The cement gap is not wasted space. It is a film thickness you build on purpose, so the luting agent can flow, vent and set without holding the restoration off its margin. Make the film too thin and the crown bottoms out on the die before it ever reaches the margin. Make it too wide and the cement layer compresses unevenly under load, so the crown shifts. The number you want, in practice, is the smallest film that still lets your cement escape.
Margin zone and internal spacer are two different numbers
Design software keeps these in separate fields, and they do different jobs. The margin zone is a short band just above the preparation margin. Most labs keep it tight, often a few hundredths of a millimetre. The internal spacer covers the axial walls and the occlusal surface, where a wider gap is safe because the cement has somewhere to go. Treat the two as one number and you either lock the crown on the margin or leave an opening that shows. Case sheets that separate the fields seat better, because the designer knows which value you mean.
Why the numbers move with material
Material changes the film thickness. Zirconia and other high-strength ceramics carry a different spacer profile than metal, since the milled fit and the cement chemistry behave differently. Adhesive materials such as lithium disilicate rely on a controlled film for bonding, so the internal gap often sits narrower than a conventional cement case allows. Because the restoration also has a minimum thickness to maintain, you cannot simply widen the spacer to solve a struggling margin. Designers who push the same values into every case end up compensating elsewhere, usually at the margin.
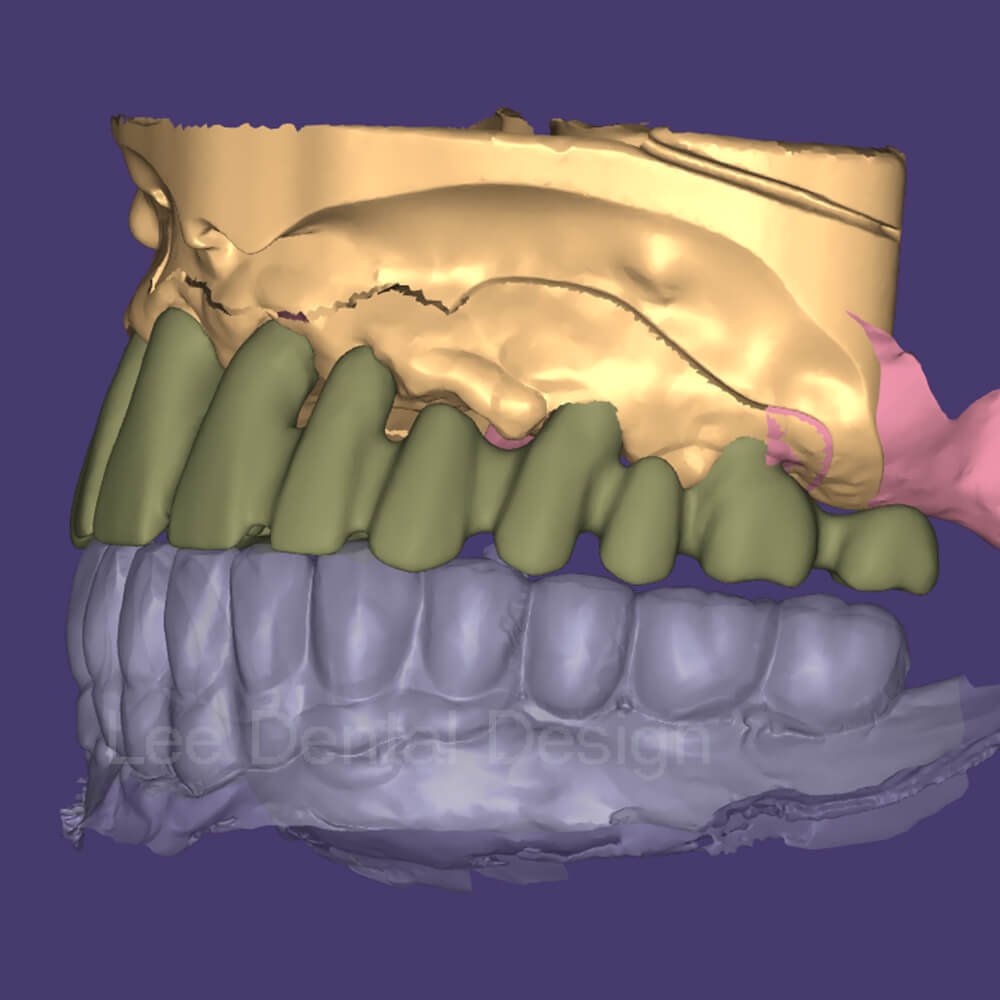
Where cement gap design fails in the lab
The failures repeat, and they follow two shapes. One shows up on delivery day as a crown that will not go down. The other appears three weeks later as a restoration that has come loose. Both trace back to settings that were copied from the last case rather than checked against this one.
Too tight: a crown that will not seat
This is the classic. The internal spacer sits a fraction too tight, so the crown stops short of the margin and rides high. A technician then grinds the inside to force it down, which destroys the designed film and costs retention. The margin usually takes damage in the process, and nobody sees that until the patient comes back. When a crown refuses to seat, the correction belongs in the design file, not on the bench.
Too loose: a crown that rocks or leaks
Open the spacer too far and the cement layer turns thick and uneven. The crown can rock on the die, the margin stays open, and the patient reports sensitivity rather than pain. Loose fits also fail at the bonding stage, because no cement holds a thick film under occlusal load. In fixed work, a gap that looks generous in the software turns into a leak path in the mouth.
Four settings are worth checking before any case leaves the design stage:
- Margin zone value against the material and the cement you actually stock, not the default in the software.
- Internal spacer at the occlusal surface, where the crown takes its heaviest load.
- Contact and occlusal clearance after the spacer is applied, since a wide spacer steals vertical room.
- Minimum wall thickness that remains once the spacer is cut, especially on thin or long-span units.
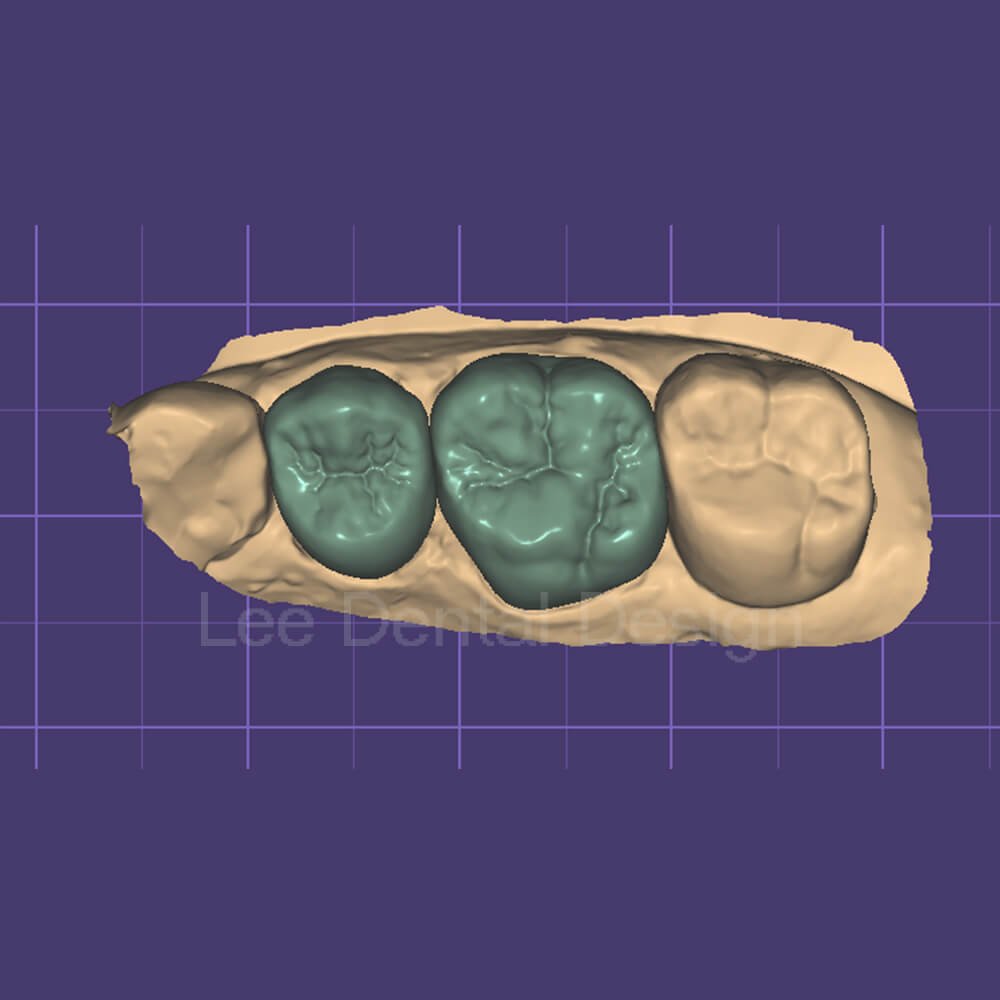
Matching spacer settings to material and workflow
Every case category has a sensible range, and your milling or printing line sets the floor beneath it. A milled zirconia crown needs enough spacer for the cement and enough thickness left for strength. A printed provisional needs clearance built for the printer, or it will not seat even when the file looks correct on screen. Titanium and CoCr frameworks on implant work behave differently again, since passivity matters more there than film thickness.
Instead of re-briefing every case, send your parameters once. Spacer values, margin zone, minimum thickness and contact gauge can all sit on file against your account. After that, each case arrives with your numbers already applied, and revision requests fall away because nobody is guessing at the protocol. Bridgework benefits most, because connector dimensions and spacer settings interact and a single wrong value travels across the whole span.
How to send a case with clear cement gap instructions
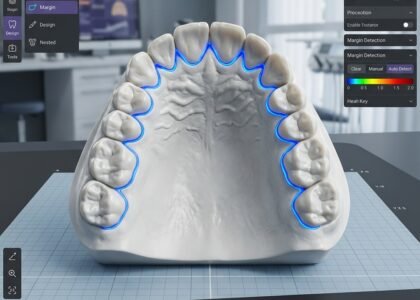
A short, precise submission saves a full day of back and forth. Send the preparation or model scan with a marked margin line, the opposing arch and bite registration, and the material you plan to run. Then state the two values that matter: margin zone and internal spacer. If the case is a coping, a screw-retained unit or a long-span bridge, say so at the start, because the spacer profile differs from a straightforward single crown.
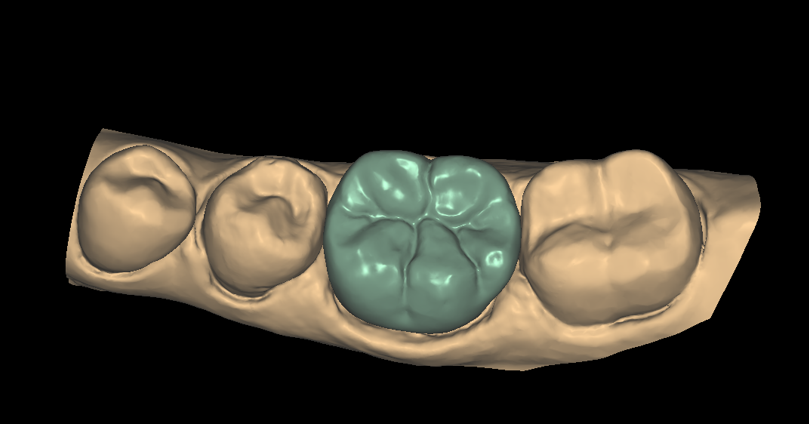
If you have no preference yet, say that too, and we will suggest a starting range for the material and record it against your account. Once you approve it, that becomes your default and later cases follow it without discussion. Our crown and bridge design service covers single crowns, copings, inlays, provisionals and long-span bridges, each designed to your margin and spacer protocol in exocad or 3Shape and reviewed by a senior designer before release. Standard turnaround is 12–24 hours, and urgent cases change the queue order rather than the design.
If you want to see where this fits the rest of your production, browse the full range of design services. Or send a real case from this week through the contact page and check the seat, the documentation and the timing for yourself.
The clinical thinking behind luting cements has not shifted in decades: a cement needs a film it can occupy. What changed is that the film is now a number you set in software and can repeat on every case. Cement gap design rewards that precision more than any other field on the sheet. Fix the two values once, and the remakes that used to arrive six weeks later simply stop appearing.