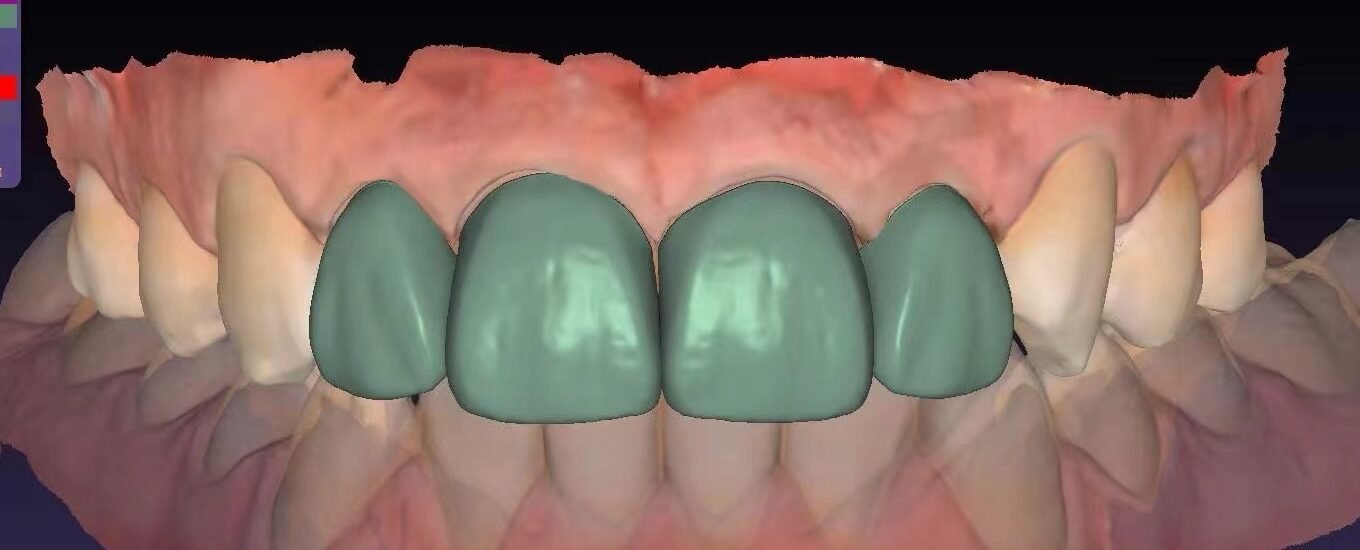
Ceramic veneer design is the least forgiving work on a laboratory CAD bench. A crown has bulk to hide a small error. A veneer has roughly a third of a millimetre, and every choice in the file shows up on seat day. That is why the design stage has to start with the preparation, not with the tooth library.
Most veneer remakes we see come from one of three places. A prep removed less tooth than the smile plan assumed. A thickness map never got checked against the scan. A shade concept stayed in the dentist’s head. Each of those is a planning gap, and none of them is a milling problem.
Why ceramic veneer design fails at the prep check
Designers receive a scan and a prescription. The scan shows what the dentist actually cut. The prescription describes what the patient approved. When those two disagree, the file cannot satisfy both, and someone has to say so before the case reaches a mill.
In practice, the disagreement is quiet. A shortfall of 0.2 mm in the cervical third looks like nothing on a screen. It becomes a grey halo at the margin, or a veneer that will not seat without pressure. Careful review catches that early. Careless review catches it in the mouth.
The 0.3 mm problem
Every ceramic system publishes a minimum thickness, and those numbers move with the material, the cement and the bonding protocol. Commonly quoted figures sit between 0.3 mm and 0.5 mm at the incisal third. Add the adhesive layer, and the room for error shrinks again. Lithium disilicate and feldspathic ceramics do not share the same floor, because the glass-ceramic chemistry behind each one differs.
So the first job is not drawing anatomy. It is measuring the space available and comparing it with the space the plan needs. Where the gap is too small, we flag the case instead of designing a restoration that cannot be produced.
What the mock-up decides
If the patient approved a trial smile, that approval is the blueprint. Proportions, line angles, incisal edge position and tooth display all get settled during the mock-up. A designer who reopens those decisions at the CAD stage produces a file that matches the screen and not the face.
Because of that, we treat an approved simulation as fixed geometry. Design then becomes a translation job, and translation is far more predictable than invention.
Matching veneer thickness to the reduction you have
Thickness is a map, not one number. A veneer is thin at the cervical margin, fuller through the middle third, and fuller again at the incisal edge where it carries load. Each zone has its own limit, and each zone can fail on its own.
For no-prep cases the envelope is enamel only. That constraint is tight, and it changes what the plan can promise. We design inside the enamel where the case allows it, and the prep-check report shows where the planned change exceeds the available room.

Window, butt margin or wrap
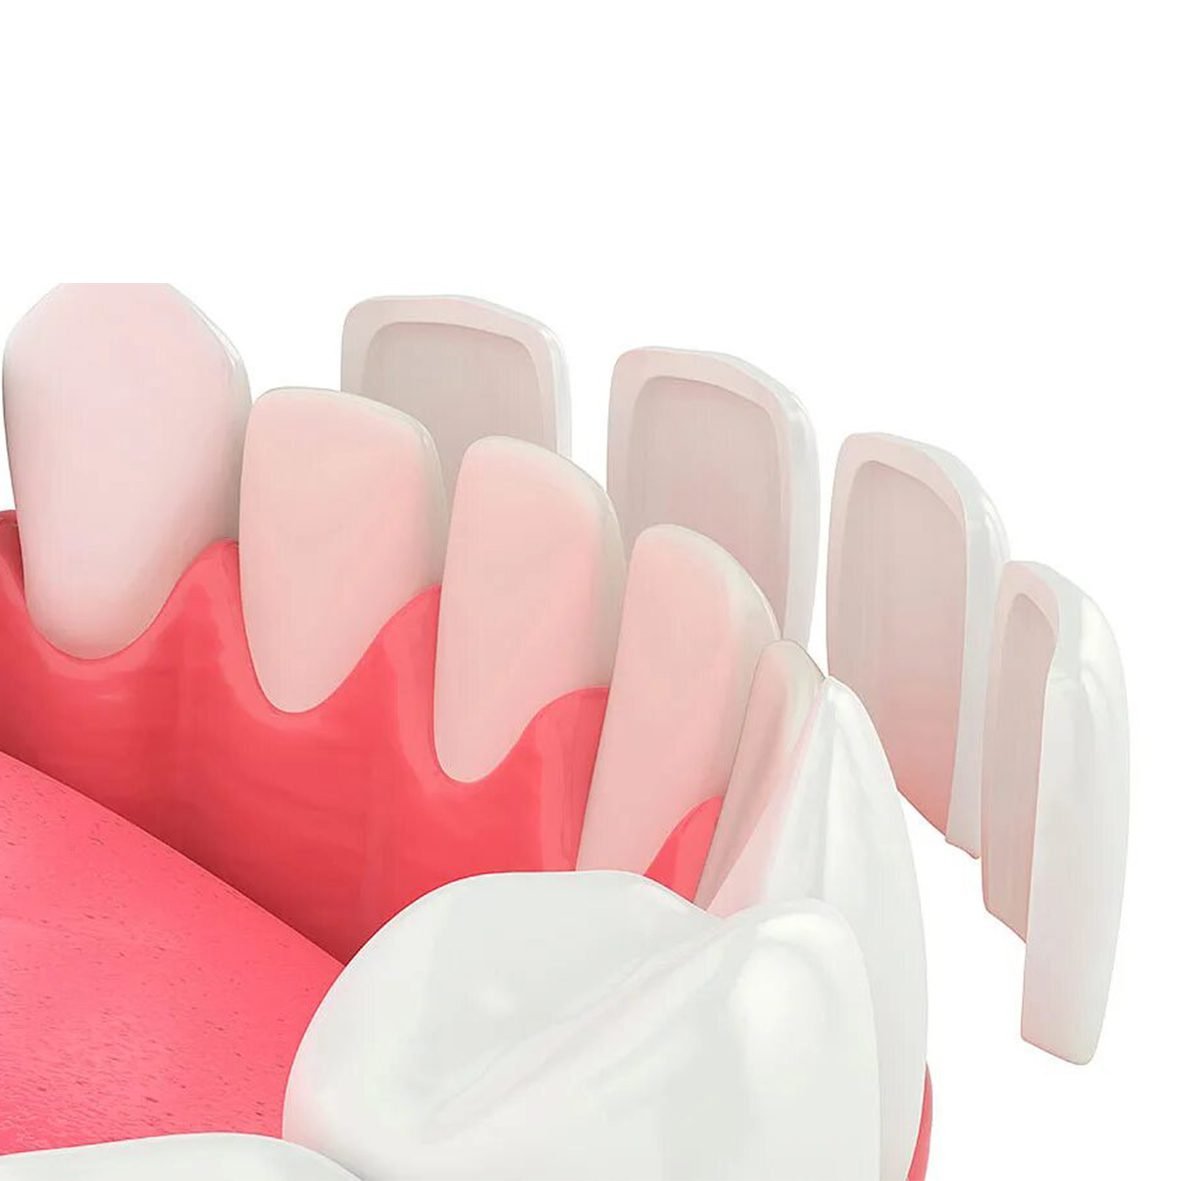
The incisal design decides how the veneer meets the tooth. A window keeps the natural incisal length and hides the junction inside enamel. A butt joint suits cases where the edge moves, because it gives the ceramic a defined stop. A wrap carries material onto the lingual surface and adds retention where the prep allows it.
Choosing between them is a mechanical question before it is a cosmetic one. Occlusion, enamel availability and the intended length change set the answer, and the design has to follow it.
Where scanners hide reduction
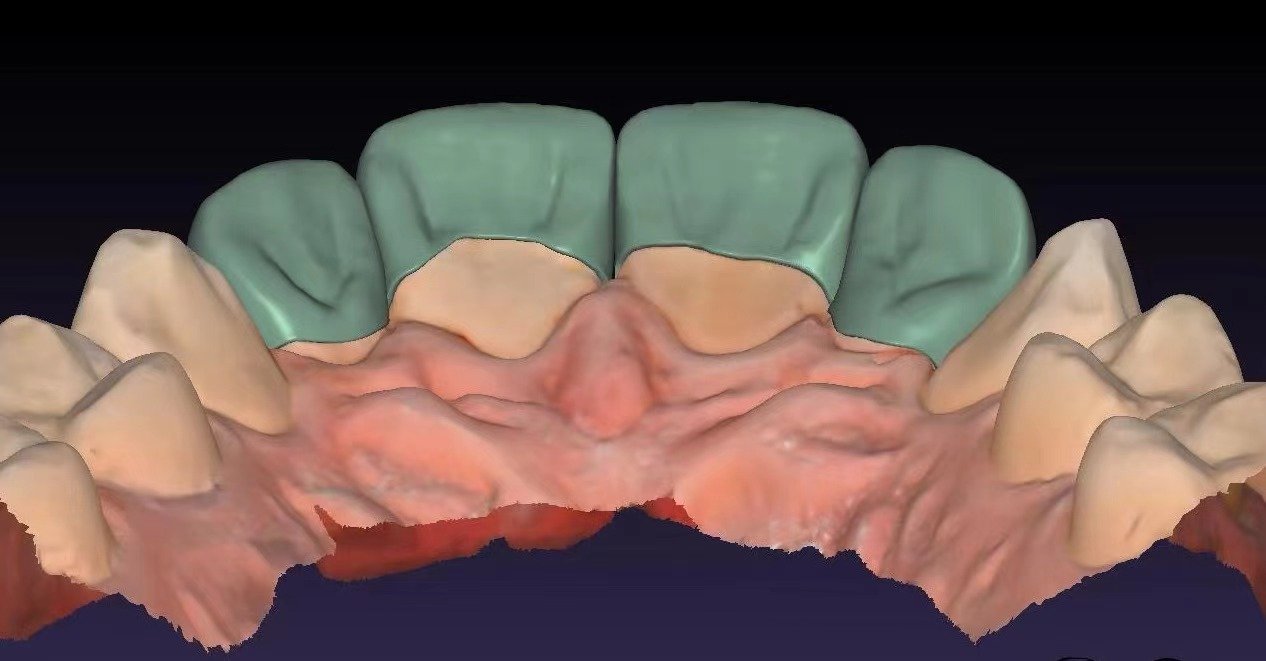
Intraoral scans lose accuracy in the cervical third. The margin area is wet, often subgingival, and sometimes shadowed by the burr line. A designer working from that data alone can misread reduction depth by an amount that matters at this scale.
Two things help. A prep scan with clean margin capture and no stitching gaps is the first. Retraction-cord photos or a model scan cover cases where the margin sits deep. When the data is thin, we ask for more. One message costs far less than one remake.
Shade, texture and the incisal edge
Shade is not a value that travels well. A single shade tab tells a ceramicist very little at 0.4 mm, because translucency, stump colour and layering all shift the final result. The design file has to carry a shade concept, not just a tab number.
We ask for stump shade and a photo set with the tab in frame. From that the file records where body colour sits, how far incisal translucency extends, and whether the case is monolithic or layered. Your ceramicist then works from a plan instead of a guess.
Surface texture carries the age of a tooth. A patient of 22 and a patient of 55 should not share the same texture map. The contralateral tooth is the reference here, since over-texturing a veneer reads as unnatural faster than under-texturing it does.
Handing off ceramic veneer design work
A clean handover is short. Send prep scans with the opposing arch and a bite registration, an approved simulation or mock-up scan, the material you intend to use, and a shade concept with photos. Add whatever protocol your laboratory already follows, and the design will match it.
Standard turnaround for ceramic veneer design is 12-24 hours from receipt of complete records. Multi-unit smile cases get staged against your seat date, and revisions come back without friction. If the records do not match the plan, you hear about it before the design locks in.
That routine matters most on anterior work. A posterior crown that misses gets a second attempt with little drama. An anterior case that misses puts a patient, a dentist and a laboratory into the same awkward conversation. The design stage is where that risk gets removed, so it earns the extra review minute.
If you want to see the output format before you commit a case, browse the rest of our design services or send one test case through the contact form. Read the prep-check notes first. They tell you more about a design partner than any sample render.