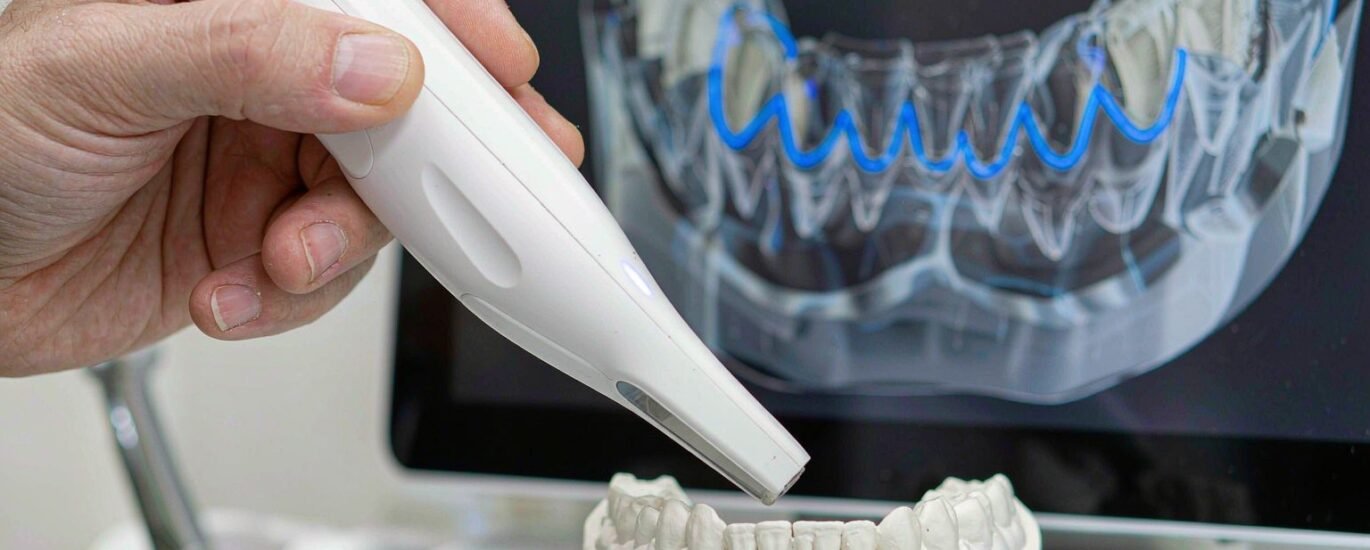
Intraoral scan quality decides more cases than any setting inside your design software. A designer can widen a cement gap or thicken a connector. Nobody can design a margin that the scanner never captured. When the finish line in the file looks soft, rounded or buried under tissue, the designer has two choices: guess, or stop and ask. Good laboratories prefer the second answer, even though it costs a day.
We design crown and bridge, implant and removable cases for laboratories across North America, Europe, Australia and the Middle East. Most files arrive clean. The ones that stall almost always stall for the same reason. A margin region in the file cannot carry the design, so the case waits.
Why Intraoral Scan Quality Is a Margin Problem
The margin line is the only fixed reference in a fixed restoration. It tells the software where the crown ends and the tooth begins. Everything downstream hangs off that one closed curve, from spacer settings to contour and occlusal anatomy. Move the line 0.2 mm and the file still looks fine on screen. The crown will sit high or leave a ledge at the chair.
Scanners do not understand margins. They record points and stitch them together, and the finish line appears only because the geometry happened to be captured from a useful angle. A chamfer that faces away from the digital impression wand can vanish without a single warning. That is why intraoral scan quality is never a general sharpness question. It is a question about one narrow band of the preparation.
What a usable margin actually looks like
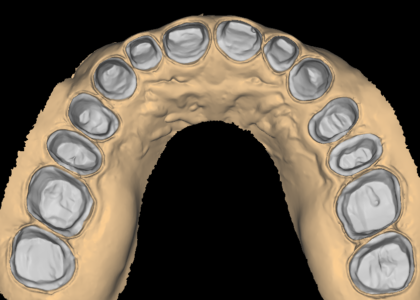
A strong margin region gives the designer three things. First, a continuous step or chamfer with a visible edge around the whole prep. Second, at least a millimetre of sound tooth structure beyond the finish line, so the software knows where the surface ends. Third, enough clearance from the adjacent tooth for a bur or a printer to pass. When any of the three is missing, the file forces a judgement call instead of a design.
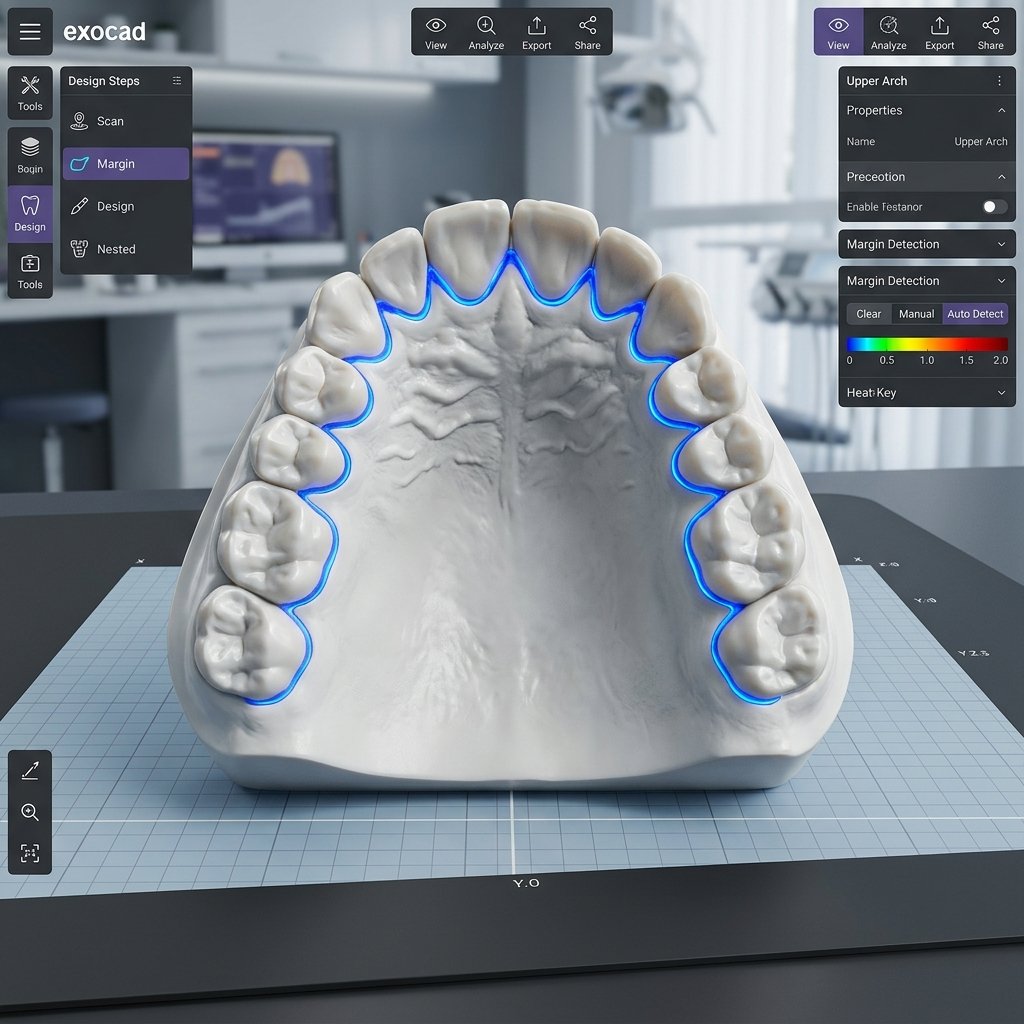
Designers who work all day in exocad and 3Shape spot the pattern within seconds. The margin line stops following the step and starts drifting down the axial wall. Contacts look open even though the prep sits close to its neighbour. Both symptoms point back to the scan, not to the design.
Where soft tissue and margin blur together
Subgingival margins cause most of the trouble. Tissue collapses over the finish line during scanning, so the file shows a smooth slope instead of a step. Retraction helps, and a second pass after the tissue settles helps more. Deep posterior margins rarely scan well on the first attempt.
Blood, saliva and mirror fog create a similar effect. The scanner fills the gap with interpolated surface, which looks plausible and is wrong. Designers call this soft data. It passes a quick visual check on screen and fails in the milling centre two days later.
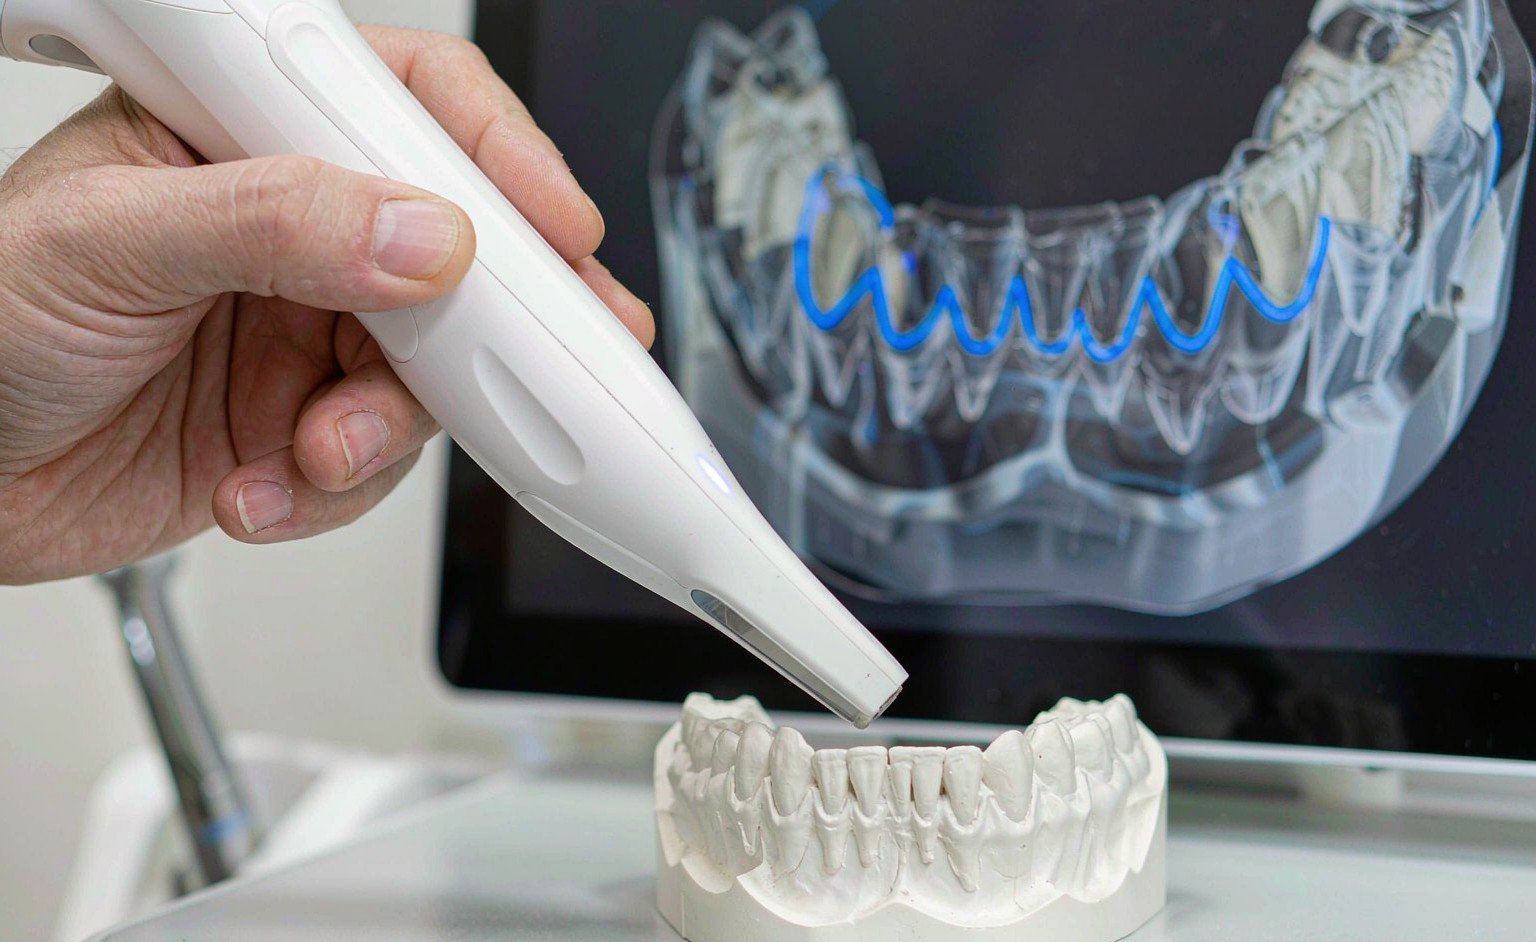
Five Scan Faults That Trigger a Remake
Across thousands of cases, the same five faults account for most remakes that begin with a scan. None of them are rare. All of them are visible before the case reaches a mill.
1. A rounded or interrupted finish line
Feather edges and knife edges lose definition quickly. A chamfer or a shoulder holds up better, because the geometry gives the scanner a clear change of direction to lock onto. When the finish line breaks into segments, the designer has to bridge the gaps by hand and hope the bridge matches the tooth.
2. Tissue sitting over the margin
Unretracted tissue hides the finish line, yet the scan still closes, so the file looks complete. Underneath, the margin rests on soft surface that no crown can seal against. Two extra minutes of retraction at the chair usually saves an entire remake.
3. Stitching drift between segments
Long arches need several scan passes. Each pass aligns to the one before it, and small alignment errors compound along the arch. The result is a model that curves slightly, with a margin that no longer meets its neighbour. Comparing the opposing arch and the bite registration catches this drift early.
4. Noise on reflective or wet surfaces
Zirconia, amalgam, gold and wet enamel all scatter light. Scanners handle that with filters, and every filter smooths detail. A prep beside a large metal restoration often comes back with a washed-out margin that looks like a shadow rather than an edge.
5. Data that stops below the cervical line
Some files end right at the finish line and show nothing beyond it. The die cannot be trimmed, and the margin has no land to sit on. One short extra pass along the gingival third usually solves the problem before the patient stands up.
How to Check Scan Quality Before the Case Leaves the Chair
A three-minute routine catches most of these faults. Ask the clinical team to run it while the patient is still seated, then ask the laboratory to repeat it when the file lands. One check on each side costs far less than one remake.
A three-minute check your team can run
- Rotate the model and view the margin from the gingival side, never from above.
- Zoom to 5x and follow the finish line as one continuous loop.
- Slice a cross-section through the prep and confirm the step appears in profile.
- Confirm the scan extends at least 1 mm past the margin on every surface.
- Close the opposing arch and the bite registration, then look for gaps.
If one of those five steps fails, rescan that region before the patient leaves. A sectional rescan takes about a minute. A remake takes a week of someone’s calendar, plus a second appointment that nobody planned for.

What to Do When Margin Visibility Is Borderline
Some scans cannot be repeated. The patient has gone home, the temporary is cemented and the case is due tomorrow. In that situation honesty beats optimism. A designer who guesses delivers a crown that looks correct in the viewer and fails at try-in, and the laboratory owns that failure.
We flag the problem rather than hide it. Every case passes a senior designer before delivery, and an ambiguous margin section goes onto the case documentation with a note. The design finishes once your team confirms the margin, not before. Standard turnaround stays at 12–24 hours from receipt of complete records, and a quick question rarely adds more than a few hours to that clock.
Good intraoral scan quality also makes the rest of the work easier to produce. Correct spacer values, connector sizes and occlusal clearance only mean something when the reference curve is trustworthy. That is why our crown and bridge design service starts with the scan rather than the tooth library, and why a flagged margin is treated as useful information instead of an inconvenience.
Some laboratories send us an odd case first, just to see how the conversation goes. We answer with the same review we run on every file: what the scan supports, what it hides, and what we need before we design. You can see the rest of the work we cover on the services page, and a short note through the contact form is enough to start.
Send one real case from this week. If the margin is weak, you will hear about it before anyone designs around it. Intraoral scan quality is a chairside habit rather than a one-off inspection, and every file shows which habit your team has built.