
Implant bar design looks like the simplest job on the implant bench. Two to six implants carry one connecting bar, and a clip inside the denture provides the retention. In practice, the bar is a precision mechanism rather than a bent strip of metal. The profile you choose decides how the prosthesis retains, how the patient cleans it, and how occlusal load travels into the implants. An implant-supported overdenture can stay in service for years, so this guide compares the three profiles we design most often, plus the milled route, so your lab can prescribe with confidence.
Every bar balances four variables at once. Retentive profile height must match the matrix system you process with. Inter-implant parallelism has to be managed or compensated, because implants rarely end up perfectly aligned. Cantilever length stays within biomechanical limits so the terminal implants are not overloaded. Finally, hygiene access must remain where the patient’s brush can actually reach.
Change the profile and all four variables move with it. A taller retentive profile eats into the housing space. A curved arch forces compensation for divergence. A longer span invites longer cantilevers behind the last abutment. That is why the decision belongs at prescription stage, not after the design file arrives. A short note on the case sheet about the intended profile saves a full redesign later.
Hader Bars: Simple Clip Retention with Clear Limits
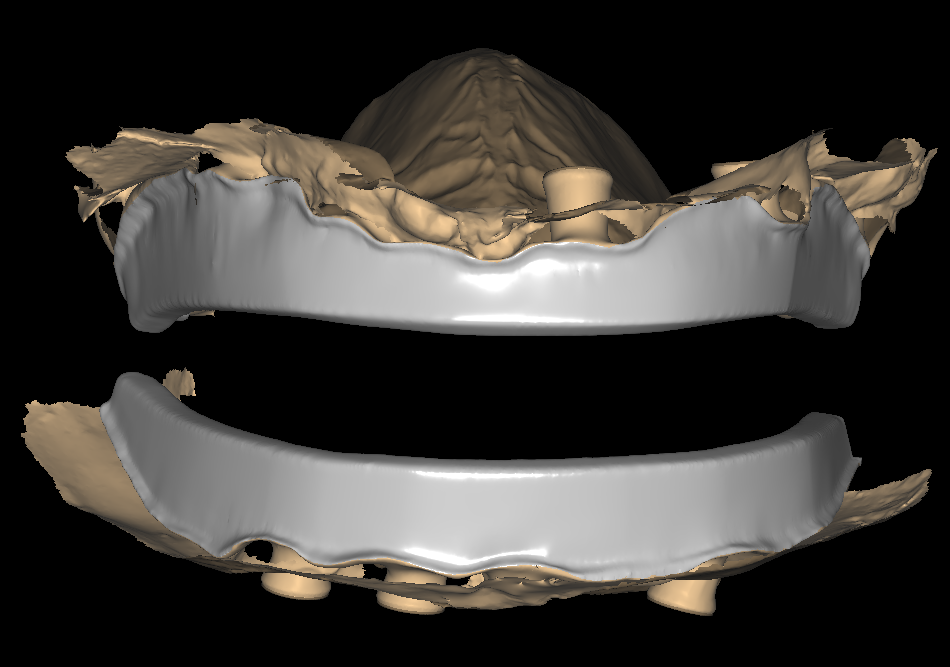
A Hader bar uses a rounded, tapered profile with a vinyl clip that flexes over it. Retention feels hinged rather than rigid, which many patients describe as the most comfortable option for a two-implant overdenture. The clip also allows slight rotational movement, so the prosthesis seats without binding on parallel implants. Because the geometry is simple, fabrication is straightforward and the appointment sequence stays short.
Where a Hader bar falls short
The same flexibility limits the indications. A Hader profile gives little resistance to rotation in longer arches, and the reduced profile height leaves less room for the matrix housing. Inter-implant distance matters as well, because the clip needs a minimum span to flex properly. If your case carries three or more implants across a curved arch, discuss the profile before you commit. A bar that fights its own attachment system will come back as a remake.
Dolder Bars: Resilient Support With or Without Wings
A Dolder bar carries an ovoid, wave-shaped profile, and it works with a sleeve that leaves deliberate space for movement. The result is resilient retention: the denture can rotate slightly toward the tissue under load, which spares the implants from rigid bracing. Labs can specify the bar with or without occlusal wings. The winged version adds a second retention plane and resists lifting better than the plain profile.
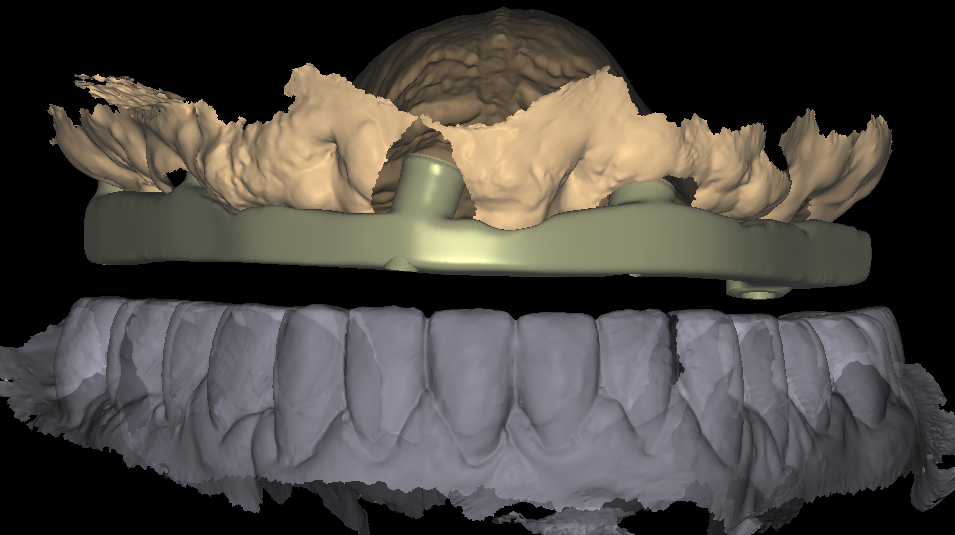
The vertical space wings and sleeves demand
That resilience takes vertical space. Occlusal wings raise the profile, and the housing plus spacer need vertical room inside the denture base. In the anterior mandible this rarely causes problems. In a shallow palate or a tight interocclusal space, the winged version may simply not fit. Check the vertical dimension early in the case. Our case sheets document profile height and housing clearance for exactly this reason.
Round Bars and the Milled Bar Design Route
Round and egg-shaped bars remain the workhorses for ball-type and various matrix attachments. The geometry is simple, hygiene is easy, and the profile suits short spans between two implants. When the case grows beyond that, most production labs move to a milled bar, because milling holds the tolerances that casting struggles to reach on longer spans. A milled profile also gives the attachment housing a precise seat, which keeps retention consistent from the first insertion onward.
Milled titanium bars versus printed casting patterns
The fabrication route changes what we deliver. A milled titanium bar arrives production-ready, with interfaces verified against the implant library and torque access left clear. A printed casting pattern, by contrast, goes to your casting bench and finishes as a CoCr bar. Both routes end at the same place: passive fit, correct spacer clearance and documented cantilever lengths. Tell us which route your lab runs, and the file comes back prepared for it.
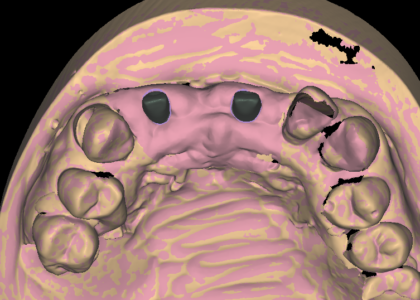
Whatever profile you choose, four checks protect the case. First, verify the records: an open-tray, implant-level scan with scan bodies in place, plus a bite registration. Second, confirm the attachment system by brand, because each matrix imposes its own geometry. Third, review cantilever length and the hygiene spaces between implants on the case sheet, not just in the render. Fourth, plan the spacer and housing so the overdenture can be processed and picked up without thin, fracture-prone sections.
Remember also that the bar never exists on its own; it exists for a matrix. Locator attachments, clip matrices and ball-and-socket systems all impose different geometry on the same span. A Locator needs vertical walls and clearance around the housing. A clip matrix needs the exact retentive profile the manufacturer intends. A ball attachment calls for a round or egg-shaped bar with controlled dimensions. This is why our designers ask for the matrix brand at submission. The bar is built around your attachment system, not the other way round, and the spacer planning follows the processing technique your denture bench uses.
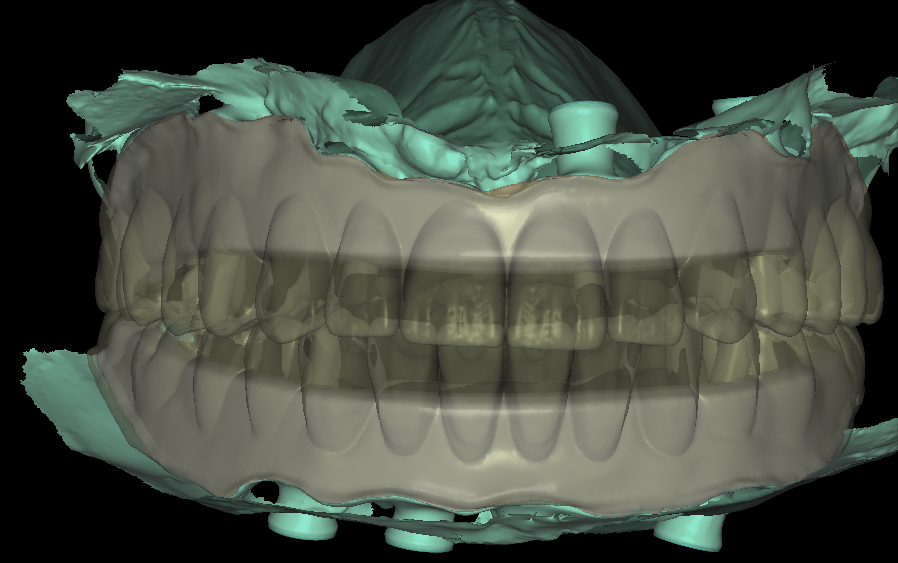
When the prescription is clear, implant bar design becomes a predictable, repeatable job. We design Dolder, Hader and round bars over two to six implants in exocad and 3Shape, with attachment matching and passive-fit verification built in. Every case passes a senior designer’s check before delivery, and it returns within 12 to 24 hours as part of the full range of laboratory design work we handle. Minor revisions are free and unlimited until you approve the file.
Ready to send one? Upload the verified scan and your matrix brand to our implant bar design service, or reach us through the contact page, and we will confirm the design path and delivery time within one working day.