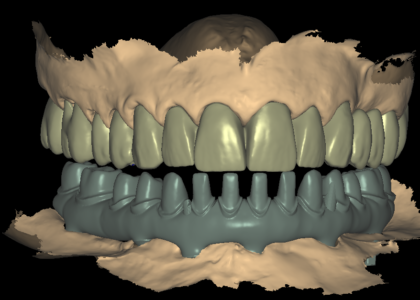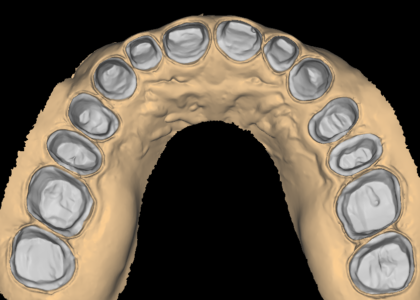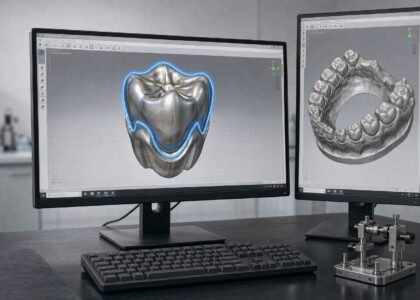
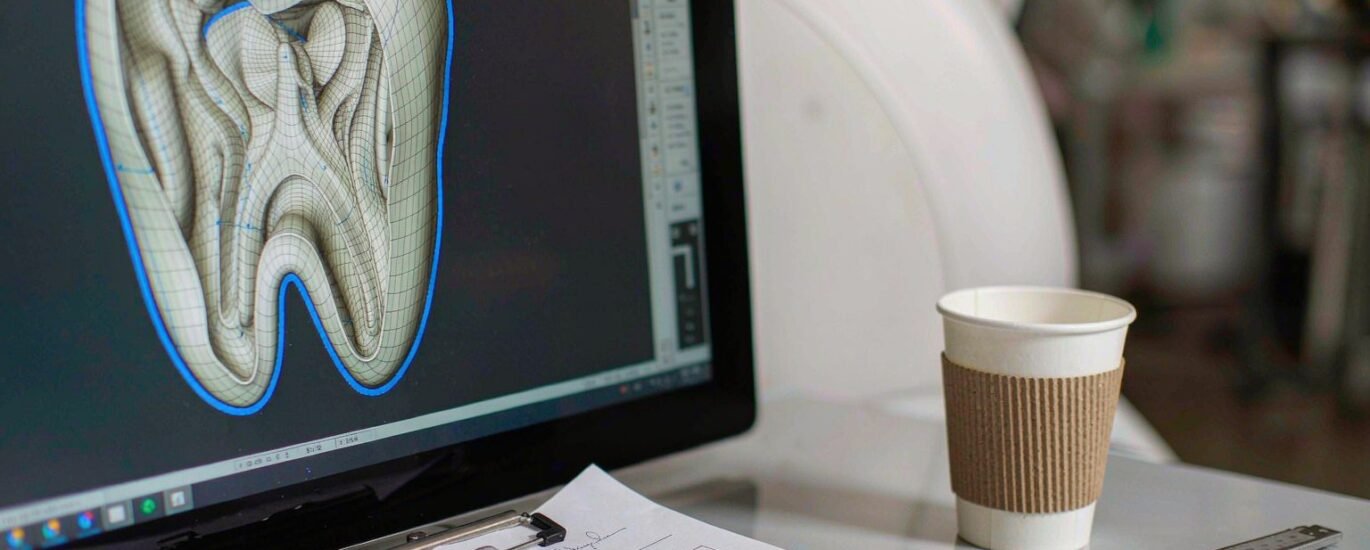
A dental design prescription template turns every case you send from a conversation into an instruction. Instead of describing what you want in a fresh email each time, you fill in the same fields, in the same order, and your designer starts with the full picture. As a result, clarification emails drop, confirmations come faster, and files match your protocol on the first pass.
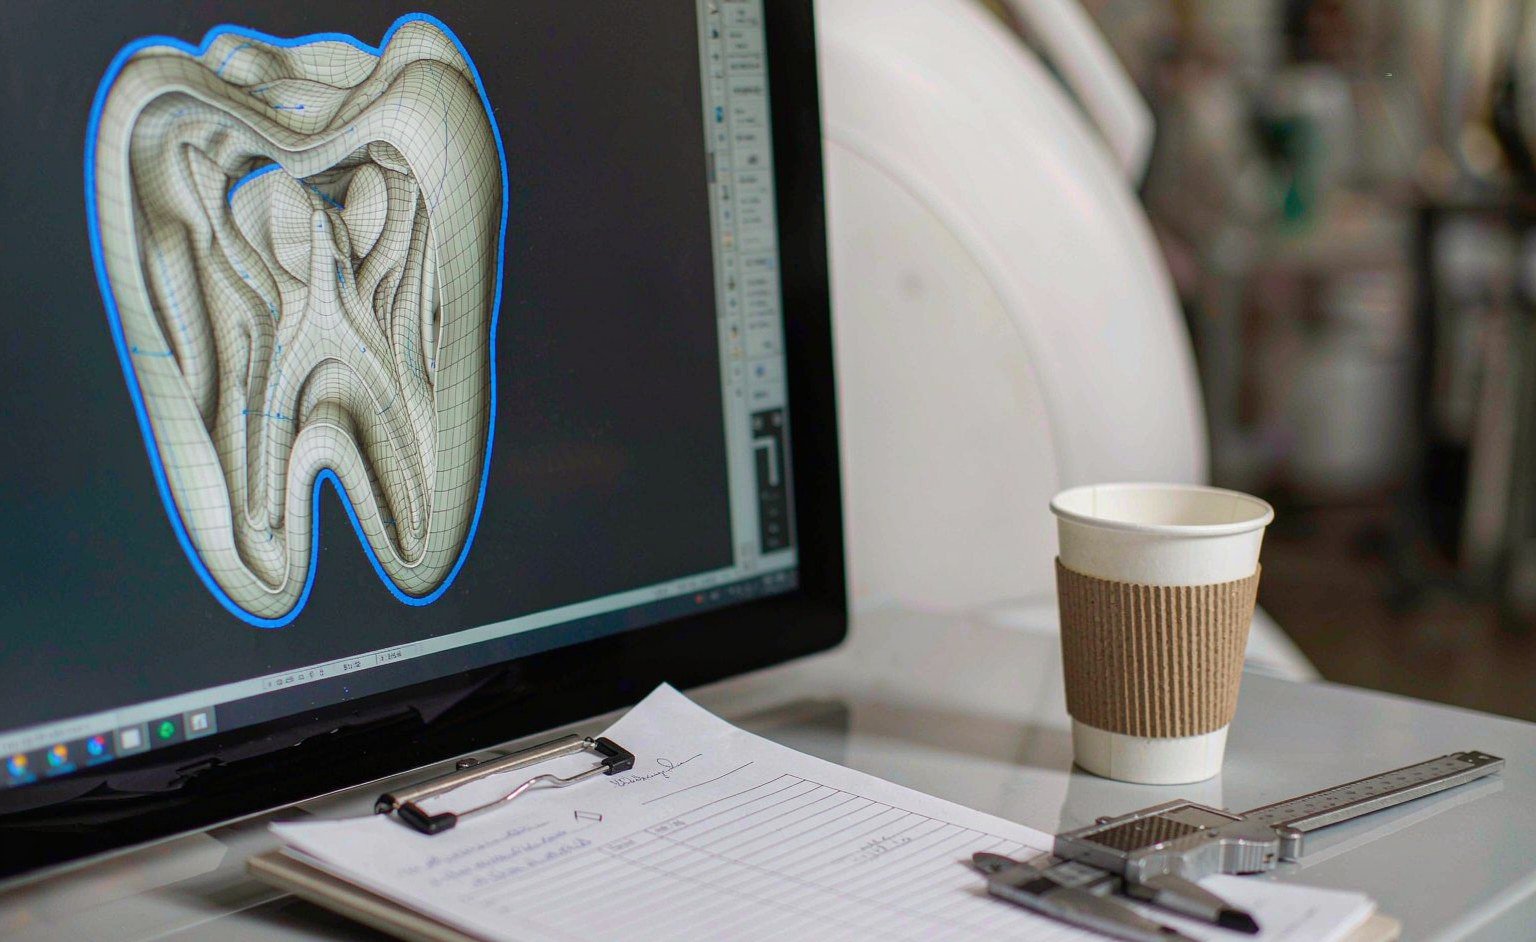
What a written prescription controls
Every CAD case rests on decisions somebody has to make: where the margin sits, how thick the cement gap runs, and which implant library the file must match. When those decisions live in scattered emails or in one designer’s memory, mistakes follow. A written prescription moves them onto a single page. Therefore, the case review starts from your answers instead of your intentions.
The habit is older than digital dentistry. In general medicine, a medical prescription records drug, dose and duration so a pharmacist can act without guessing. Dental design works the same way. Your prescription tells the designer what to build, and the design file tells your mill or printer what to produce.
In practice, most of the questions a designer asks fall into a short list of topics. Labs that answer them up front receive their files inside the 12–24 hour turnaround a good outsourcing partner promises. Meanwhile, labs that leave fields blank wait while questions travel back and forth, and a one-day job stretches into three.
The template: nine fields every case needs
A workable dental design prescription template fits in a text file, a spreadsheet, or the notes field of your case management tool. Nine fields cover almost every situation. For routine crowns you will fill only half of them; for implant and removable work, all nine matter.
Case basics
Start with the service type, the unit count, and the tooth numbers or arch. Add the material and the production route: zirconia or PFM, mill or print, and any hard deadline. A one-line summary reads, for example: “crown and bridge design, three units, teeth 13–15, zirconia, mill, needed within 24 hours.”
Design protocol fields
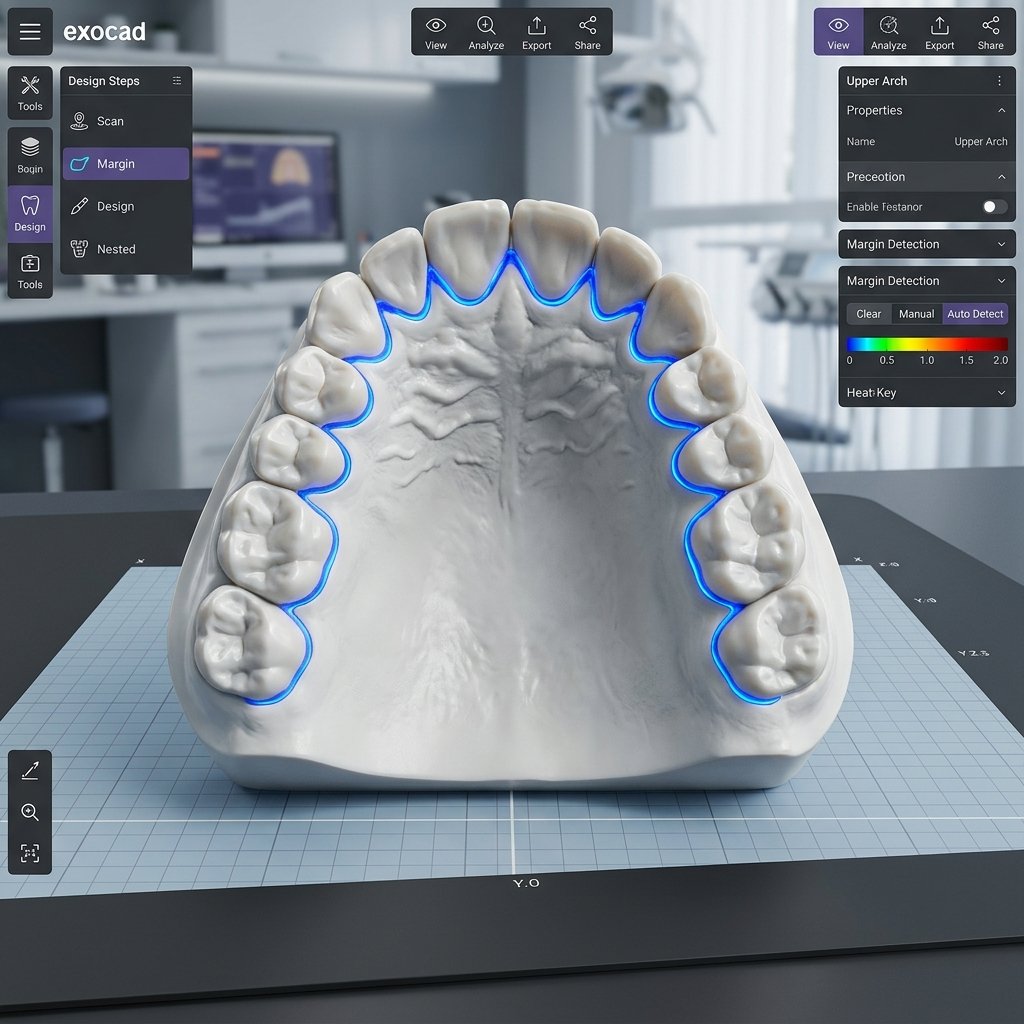
This block carries your preferences, and it is the reason the template pays off over time. State margin line placement, cement gap values, contact tightness, occlusal anatomy style, and connector sizes for bridges. Your protocol is the law; the template simply records it where a designer can see it. Once your partner saves these settings, later cases need almost no restatement.
Implant system details
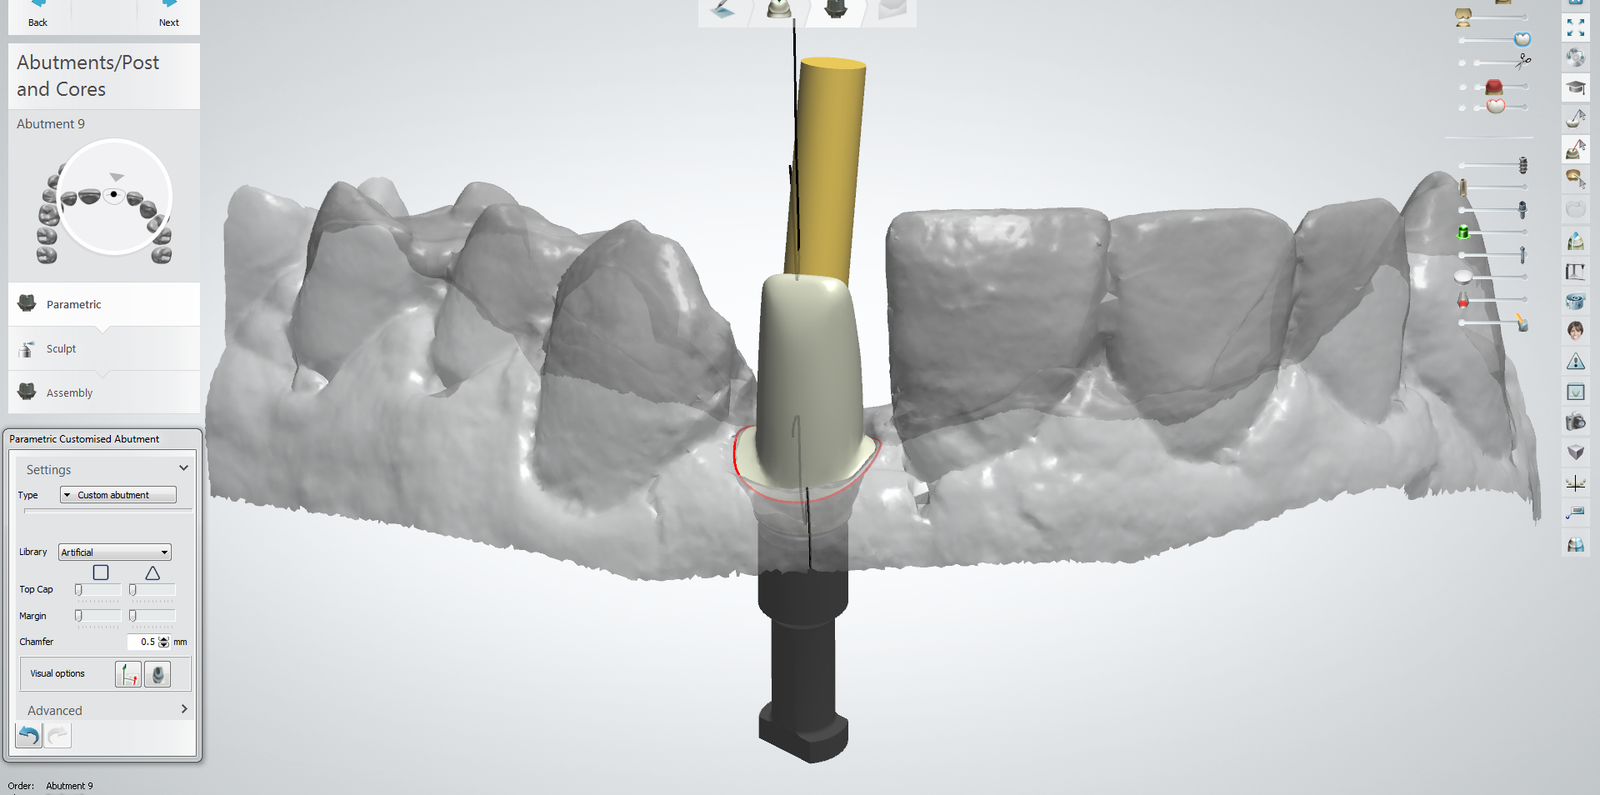
Implant cases need extra fields. Name the implant system, the platform, and whether the restoration will be screw-retained or cemented. Include scan body information and the library the file must match. For a look at how these details map to finished work, see our custom abutment design service. If a library is missing, your designer should say so before design starts, not after delivery.
Files, links and deadline
Close with what you are sending and when you need it back. List the STL or IOS exports, photos, and CBCT data for guide cases. In addition, note where the files sit, because anything over 20 MB usually travels by WeTransfer or Dropbox link rather than as an attachment. Finish with the delivery window, and mark rush cases clearly.
How a designer uses your prescription
A good design partner reads the dental design prescription template before opening any software. First comes the case review: the designer checks your files against your fields and confirms feasibility within a few working hours. If something is unclear or missing, they ask before designing, which costs minutes instead of remakes. Next, a designer builds the case to your margins, cement gaps, connectors and occlusion. Then a senior check runs over fit, thickness and passivity before anything reaches your download queue.
Most cases come back inside 12–24 hours, with screenshots and construction notes attached. If you spot something to adjust, the revision request refers back to the same prescription, so both sides argue from the same page. You can see the full intake-to-delivery flow on our CAD design services page.
Prescription mistakes that cause remakes
Missing implant system details top the list. A custom abutment designed against the wrong library cannot seat, and the remake costs everyone a day. Vague margin instructions come second. “Design to the margin line” means little when the scan carries two candidate lines, so say which one wins and where the design should stop.
Old files cause the third problem. Some laboratories reuse a prescription from a different case, so the cement gap and contact values belong to yesterday’s restoration. Always fill the fields fresh, even for a repeat case. Finally, hidden deadlines hurt. If a case must reach the mill by morning, write it in the template, because rush support only works when your partner knows about it.
Put the template to work
Build your dental design prescription template once, save it where your team submits cases, and fill a copy for every job. After two or three cases, designer questions will drop to almost zero, and your turnaround will tighten with them. Most laboratories keep two versions: a short one for routine crowns, and a full one for implant, removable and guide work. Share both with everyone who sends cases, including temporary staff, so the standard survives busy weeks.
If you want a starting point, send one real case through our contact form with your fields filled in. We will return the file within 12–24 hours, together with feedback on anything the prescription left out. Judge us on that first file, then decide whether the template belongs in your standard workflow.